How to Stain Wood Cabinets for a Flawless Finish
If you're looking for a project that delivers a serious transformation, staining your cabinets is tough to beat. It’s about more than just a new color—a great stain job will protect your wood from the chaos of daily life and can even give your property’s value a nice bump.
Why Staining Is Your Best Bet for a Cabinet Refresh
When your kitchen or bathroom starts to feel a little tired, the classic debate begins: paint or stain? While a coat of paint offers a clean, modern slate, staining works with the wood, bringing out its natural character and grain. For many homeowners and business owners in our community, the choice is clear once you see the results.
Stain doesn’t just sit on top like paint does. It actually soaks into the wood fibers, enriching the color and highlighting all the unique swirls and patterns that make wood so beautiful. Not only does this refresh the look, but it also adds a vital layer of defense against moisture, grease, and all the bumps and scrapes of a busy home or commercial space.
The Value of Stained Wood
The appeal of stained wood cabinets goes beyond aesthetics; it's a smart investment, too. Natural, warm materials are a top feature for homebuyers and can elevate the look of any commercial interior. If you’re thinking about selling or upgrading your property down the road, this is an update that can really pay off.
Here’s a little inside scoop: Local real estate data shows that professionally stained cabinets can increase a home's sale price, making it a fantastic upgrade with a clear return on investment.
This isn't just something we're seeing locally. The demand for quality wood finishes is booming worldwide. The wood coatings market is on track to grow from $12.7 billion in 2026 to $18.8 billion by 2036, which just goes to show how much people value the timeless appeal of well-finished wood. You can find more data on the wood stain market's growth and its drivers if you like to dig into the numbers.
Is This a DIY Project or a Job for Professionals?
Figuring out how to stain wood cabinets also means deciding who is going to do the work. Taking the DIY route can be rewarding and save you money, but it’s a job that demands patience, attention to detail, and a proper workspace. It can be an overwhelming task for a busy homeowner or facilities manager.
Before you commit, think honestly about these points:
- Time Commitment: This isn’t a quick project. You’re looking at several days of removing doors, cleaning, sanding, staining, sealing, and reinstalling. It takes time to do it right.
- Cabinet Condition: Are your cabinets in good shape, or are you dealing with deep gouges, layers of old paint, or complex trim? The prep work can become difficult quickly, especially for a beginner.
- Desired Finish: Getting a perfectly even, streak-free finish takes practice. If you’re aiming for a flawless look and don’t have much experience, hiring a pro is often the best call.
For many homeowners and business owners, bringing in an expert just makes sense. A professional team like Wheeler Painting has the experience to deliver a durable, high-end finish without the headache and time commitment of a DIY project.
This guide will walk you through the entire process, whether you decide to tackle it yourself or just want to understand what goes into a professional job.
To give you a clearer picture of the journey ahead, here’s a quick breakdown of what to expect. This will help you plan your time and focus your efforts where they matter most.
Your Cabinet Staining Project at a Glance
| Phase | Estimated Time | Key Focus |
|---|---|---|
| 1. Planning & Prep | 3-5 hours | Choosing your stain and finish; setting up a dedicated workspace. |
| 2. Removal & Cleaning | 2-4 hours | Carefully removing hardware and doors; deep cleaning with a degreaser. |
| 3. Sanding | 4-8 hours | Stripping the old finish and creating a smooth, receptive surface. |
| 4. Staining & Drying | 3-6 hours | Applying stain evenly; allowing for 24-48 hours of dry time. |
| 5. Topcoating & Curing | 3-5 hours | Applying a protective clear coat; waiting for the finish to fully cure. |
| 6. Reassembly | 2-3 hours | Reinstalling hardware, doors, and drawers. |
As you can see, the sanding and drying phases are where you'll spend a good chunk of your time. Rushing these steps is the number one mistake people make, so plan accordingly and give your project the time it deserves for a finish that will last for years.
Choosing Your Stain and Gathering Essential Supplies
Before you touch a single piece of sandpaper, let's talk about the most crucial part of the prep work: your game plan. Getting your stain and supplies sorted out first is the secret to a smooth project. Nothing kills momentum like a last-minute trip to the hardware store.
Think of this as your master list to get everything you need in one go, so you can focus on bringing your vision to life.
Oil-Based vs. Water-Based Stains
The first big decision you'll make is the stain itself: are you going with an oil-based or water-based product? They each have their place, and the right choice depends on your project goals.
For years, oil-based stains were the standard. They seep deep into the wood grain, creating a rich color. They also have a longer "open time," meaning they stay wet longer. This gives you more time to work the stain in and wipe off the excess, which is a huge help for avoiding lap marks, especially if you're new to staining.
Lately, however, water-based stains have become very popular, and for good reason. They dry quickly, letting you apply multiple coats in a single day and shortening your project timeline. More importantly, they have far fewer volatile organic compounds (VOCs). That means a much less intense smell, which is a game-changer for any indoor project, particularly in a home with kids or an active commercial space.
The entire industry is moving toward these greener options. Water-based stains are expected to cut VOC emissions by 70-80% compared to their oil-based counterparts, driving a massive shift in the US wood stain market through 2036. This move is part of a larger trend you can read about in these industry trends and growth opportunities in wood coatings.
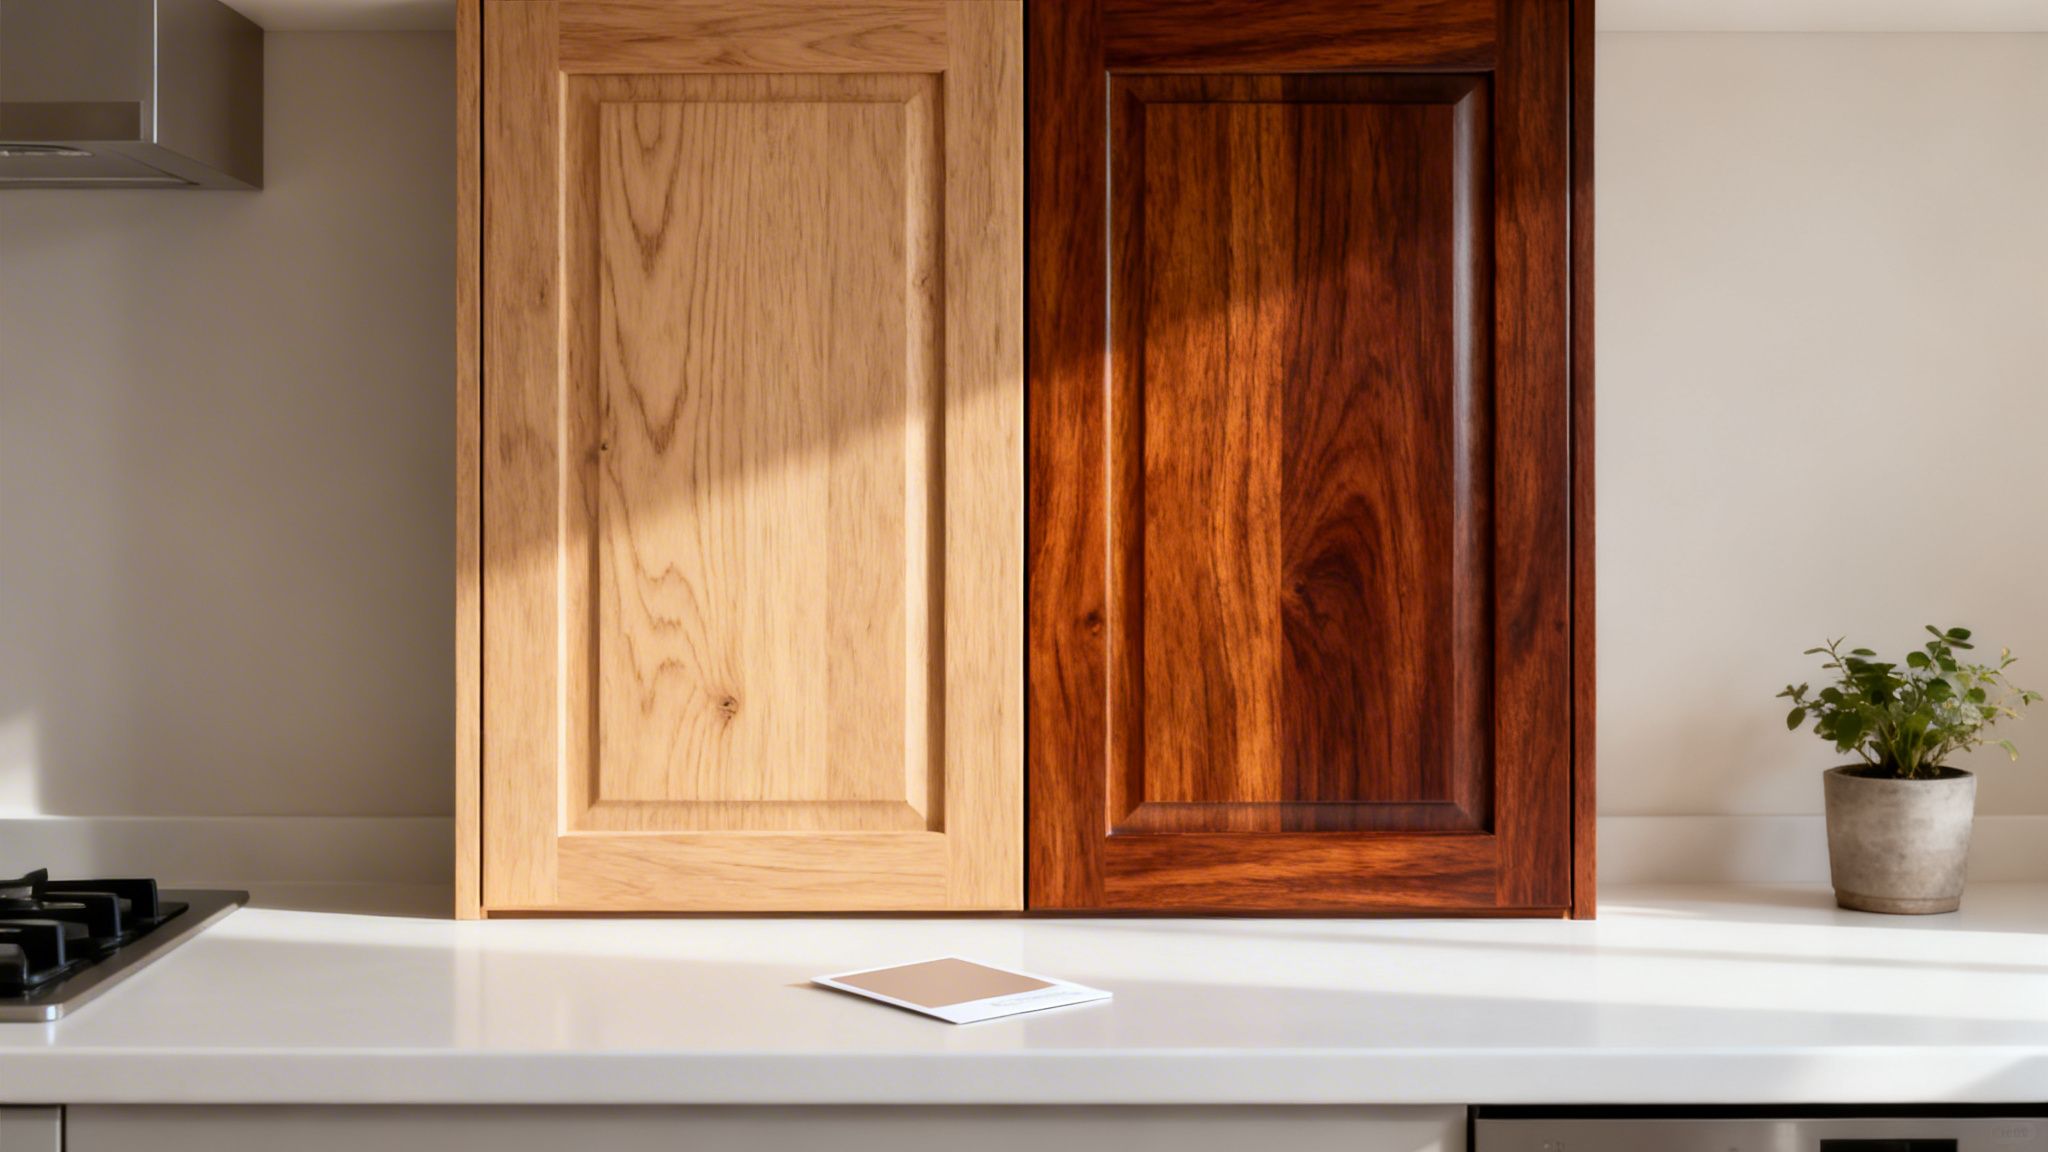
Picking the Perfect Color
The wall of stain colors at the store can be intimidating. To narrow it down, start by looking at the fixed elements in your room—your flooring, countertops, and backsplash. Are you aiming for a dramatic contrast or a more blended, harmonious feel?
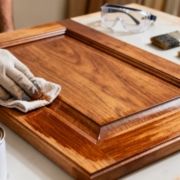
Pro Tip: Never trust the color on the can or the small sample chip in the store. Every type of wood takes stain differently. A color that looks great on maple might look totally different on oak. Always buy a small test can and try it on an inconspicuous area, like the back of a drawer front, to see how it will actually look on your cabinets.
If you’re trying to modernize classic honey-oak cabinets, try to avoid stains with heavy yellow or red undertones, as they'll just amplify the orange. Instead, look for cooler tones—muted browns, grays, or even a deep charcoal can neutralize the warmth and give you a fresh, updated look.
Your Complete Shopping List
Walking into the hardware store with a detailed list is your best defense against overspending and forgetting something critical. Here’s a full rundown of what you’ll need.
Preparation & Cleaning
- Drill or Screwdriver: To remove cabinet doors, drawers, and all hardware.
- Painter's Tape and a Marker: For labeling where each door and hinge belongs. Don't skip this!
- Drop Cloths or Plastic Sheeting: To protect all surrounding surfaces.
- Degreaser: A powerful cleaner like TSP (trisodium phosphate) is a must for cutting through kitchen grime.
- Buckets and Sponges: For your cleaning and rinsing solutions.
Sanding & Staining
- Sandpaper in Multiple Grits: You'll want 120-grit to start and 220-grit for the final smoothing pass.
- Orbital Sander: This will save a significant amount of time on large, flat surfaces.
- Sanding Sponges: Perfect for getting into the detailed or curved parts of your doors.
- Pre-Stain Wood Conditioner: This is essential, especially for soft or blotch-prone woods like pine and maple, as it helps the stain absorb evenly.
- Wood Stain: Your chosen color and formula (oil or water-based).
- Lint-Free Rags or Foam Brushes: For applying the stain and wiping away the excess.
Finishing & Safety
- Polyurethane Topcoat: A satin or semi-gloss finish provides great durability for kitchen or commercial cabinets.
- High-Quality Brush: Use a natural bristle brush for oil-based topcoats and a synthetic brush for water-based ones.
- Safety Gear: Always use safety goggles, gloves, and a respirator to protect yourself from dust and fumes.
Having everything on hand makes the work flow much better. These same principles of good preparation apply to any staining job, inside or out. For more tips on choosing the right product for an exterior project, take a look at our guide to finding the best stain for fences.
The Critical Prep Work for a Professional Result
I can't stress this enough: your final stain job will only be as good as your prep work. This is the stage that makes or breaks the entire project. If you've ever seen a cabinet staining job that looks splotchy or uneven, it's almost always because this step was rushed.
This isn't the glamorous part, but taking the time to properly dismantle, clean, and sand your cabinets is what creates the smooth, durable finish you're after. Let's walk through the process.
Setting Up Your Workspace and Removing Hardware
First, you need a dedicated work zone. A garage or a well-ventilated basement is ideal. Lay down drop cloths to catch dust and drips, and set up a pair of sawhorses or a large work table. This gives you a proper station to work on the doors.
Now it's time to take everything apart. Grab a drill or screwdriver and carefully remove all the cabinet doors and drawer fronts. As you take each one down, you must label it. A small piece of painter's tape with a simple code (like "UR" for upper right, or "BS" for below sink) placed inside the hinge pocket and on the cabinet frame will save you a massive headache later. You don't want a frustrating puzzle on your hands when it's time to reassemble.
Finally, take off all the hardware—hinges, knobs, pulls, everything. Put them into labeled plastic baggies so you know exactly which screws go with which hinge. Years of use can cause subtle shifts, and mixing them up can lead to misaligned doors.
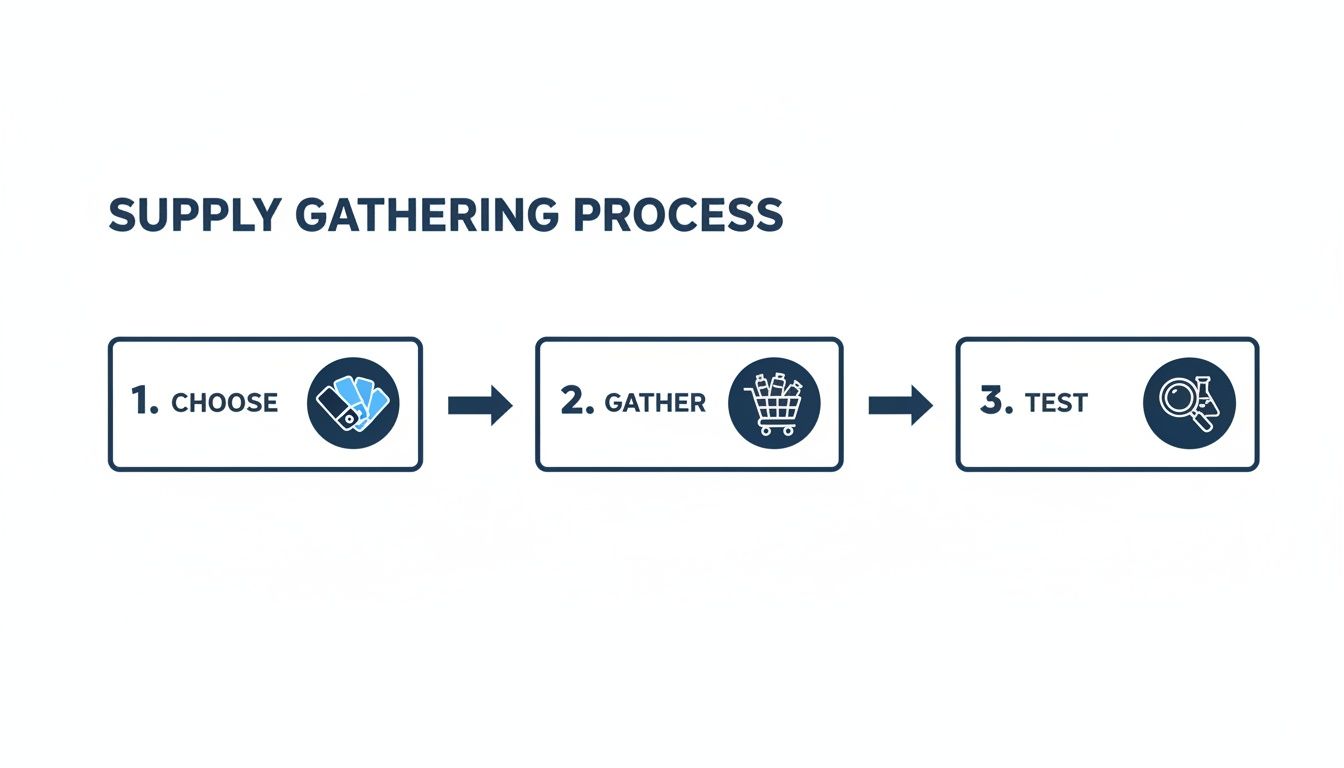
As the diagram shows, once your supplies are gathered, testing your stain is a non-negotiable step before you commit to the whole project.
The All-Important Deep Clean
Over the years, kitchen cabinets get coated in a fine layer of grease, cooking fumes, and grime. Stain simply won't penetrate that layer. You have to start with a thorough degreasing.
For this job, a heavy-duty cleaner like TSP (trisodium phosphate) or a quality TSP substitute is your best bet. Mix it according to the directions on the box and scrub every surface of the cabinet boxes, doors, and drawer fronts. The amount of grime that comes off can be surprising.
After scrubbing, you have to rinse every trace of the cleaner off. Any residue left behind will interfere with the stain and topcoat. Wipe everything down with a clean rag and fresh water, then go over it a second time with another clean, damp rag to be sure. Let the wood dry completely before you move on to sanding.
Sanding for an Even Finish
Sanding is a grind, but it's also the single most crucial step for getting a beautiful, even stain color. Your goal is to completely remove the old, glossy topcoat (like lacquer or polyurethane) so the new stain can soak into the wood. For most projects, you need to get down to bare wood.
Key Takeaway: You must sand down to the raw wood. Staining over an existing finish is a recipe for disaster. The stain will sit on top, creating a sticky, blotchy mess that will never cure properly and will scratch off easily.
Start with 120-grit sandpaper on a random orbital sander for the large, flat surfaces. It has enough power to remove the old finish without damaging the wood. For detailed areas—like routed edges or panel inserts—a sanding sponge of the same grit is perfect for getting into the contours.
Once the old finish is gone, switch to a finer 220-grit sandpaper for your final pass over every surface. This critical step erases any sanding marks from the coarser grit and prepares the wood grain to accept the stain evenly.
Now for cleanup. Any dust left behind will get trapped in your stain, creating a gritty, rough texture. A tack cloth is the old-school standard, but a microfiber cloth lightly dampened with mineral spirits works even better to pick up every last particle. To do the job right, using one of the best shop vac for dust collection is a game-changer for getting the area truly clean.
With your cabinets clean, sanded smooth, and completely dust-free, you're finally ready for the fun part: applying the stain.
How to Apply Stain Evenly Without Streaks
This is where all that tedious prep work really starts to pay off. With your cabinets sanded smooth and clean, it’s finally time to add the color that will completely transform your space. Applying stain properly is what separates a DIY-looking job from a professional one.
It's less about force and more about technique. We’ll walk through the exact methods to get a rich, even color, ensuring your hard work results in a streak-free finish you can be proud of.
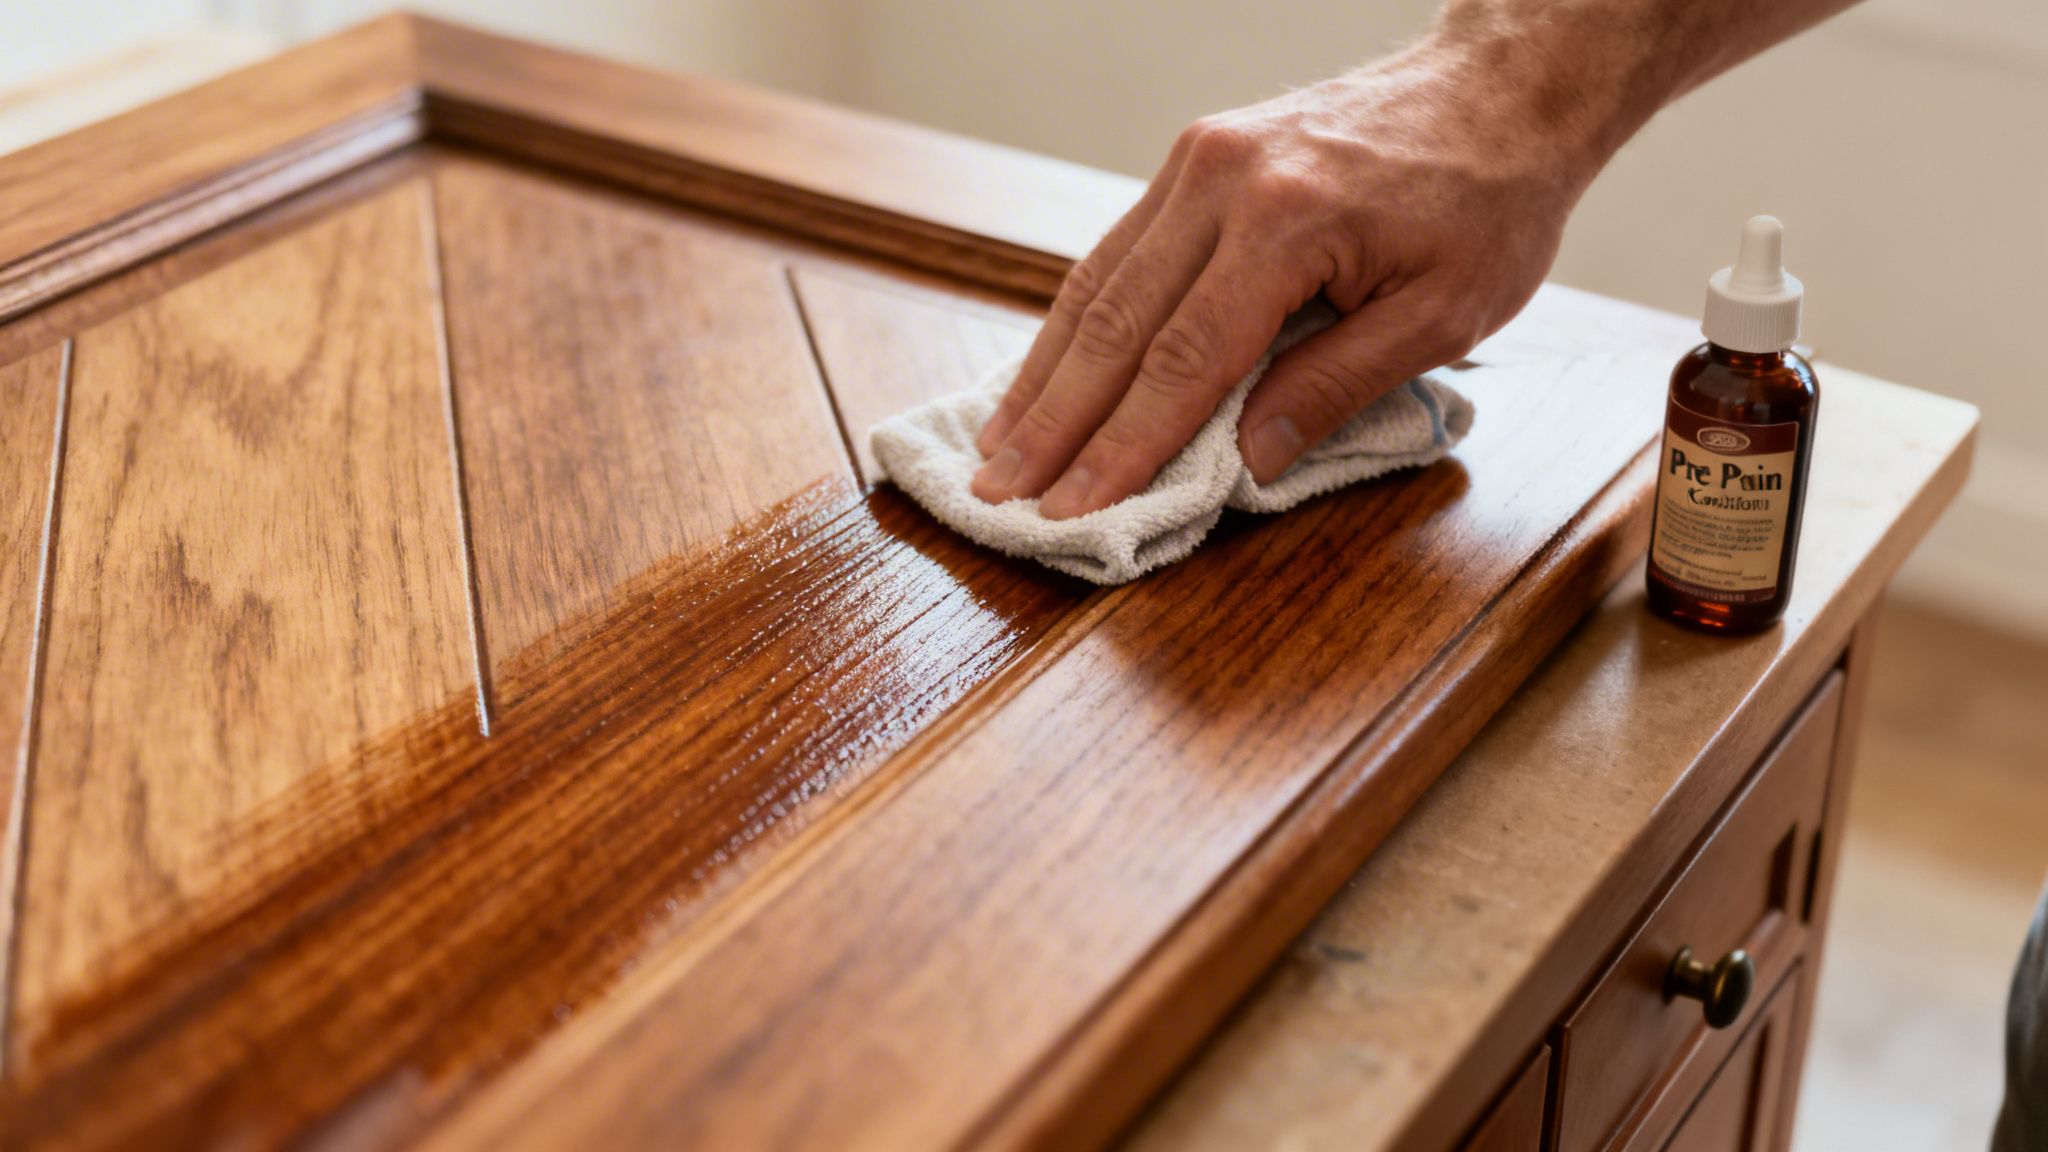
Don't Skip the Wood Conditioner
Before you open that can of stain, there's a crucial step you can't ignore: applying a pre-stain wood conditioner. Think of it as a primer for stain. It’s a thin, clear liquid that soaks into the wood, evening out the porosity of the surface so your stain absorbs uniformly.
Without it, you’re asking for trouble, especially with certain woods. Softwoods like pine and maple are notorious for getting blotchy. But even some hardwoods, like cherry and birch, have unpredictable grain patterns that can absorb stain unevenly. Conditioner is your insurance policy against a splotchy, amateur-looking finish.
Application is simple. Just wipe a liberal coat onto the bare wood with a clean, lint-free cloth. Let it soak in for about 15-30 minutes—always check the can for the manufacturer's specific instructions—then wipe off any excess. The key is to apply your stain within a couple of hours after conditioning for it to work properly.
The Art of Wiping On and Wiping Off
For staining cabinets, your best tool is often the simplest: a clean, lint-free rag. A cloth gives you excellent control and lets you feel the surface as you work the stain into the grain. Foam brushes are also an option, but many find rags more forgiving, especially for beginners.
Here’s the fundamental process for a perfect application:
- Stir, Don't Shake: First, open your can of stain and stir it thoroughly with a paint stick. Never shake the can. Shaking introduces tiny air bubbles that can get trapped in your finish. Make sure you scrape the bottom to mix all the settled pigments.
- Apply a Generous Coat: Dip your rag into the stain and wipe a wet coat onto the wood, always moving in the direction of the grain. Don't be shy with it; you want to fully saturate the area you're working on.
- Work in Manageable Sections: Avoid trying to stain an entire door at once. Instead, break it down. Stain the center panel first, then move to the surrounding frame. This helps you maintain a "wet edge" and prevents lap marks where sections overlap.
- Let It Penetrate: Let the stain sit for a few minutes. The final color is directly related to how long you let it penetrate before wiping. A longer wait time means a deeper color.
- Wipe Off the Excess: This is the most critical part of the process. Take a clean, dry cloth and wipe away all the excess stain, again moving with the wood grain. If you leave a thick film on the surface, it will become a sticky mess that refuses to dry properly.
Your goal is to color the wood, not coat it. The rich, final hue should come from pigment that has absorbed into the wood fibers, not from a thick layer of stain sitting on top. When you're done wiping, the surface should feel almost dry to the touch.
Controlling Color Depth and Consistency
Getting the perfect shade is a delicate balance. It’s determined by two things: how long you let the stain penetrate and how many coats you apply.
If you test a spot and decide you want a deeper color, the best approach is to apply a second coat—not to let the first coat sit for an excessive amount of time. A single, super-heavy coat is a recipe for a sticky finish.
For applying a second coat, here’s what you do:
- Let the first coat dry completely. This can take anywhere from 4 to 24 hours, depending on whether it's an oil-based or water-based product and the humidity in your room.
- Once dry, lightly apply the second coat using the exact same "wipe on, wipe off" technique.
- The second coat won't absorb as much as the first, but it will subtly deepen the color, adding a beautiful layer of richness.
Mastering this method gives you precise control over the final look. While a DIY cabinet project is rewarding, remember that large-scale renovations or complex jobs often benefit from professional expertise to guarantee a flawless, long-lasting finish.
Applying a Durable Topcoat and Final Reassembly
You’ve done the hard work with the staining, and your cabinets probably look fantastic. But don't put the tools away just yet. This next step—applying a protective topcoat—is what separates a good DIY job from a professional, long-lasting finish.
Think of the topcoat as armor for your hard work. It’s what stands between your newly stained wood and the reality of a busy kitchen or office: sauce splatters, clanking dishes, and daily scuffs. Without it, your beautiful stain is left vulnerable and won't hold up for long.
Choosing the Right Polyurethane
When it comes to protecting cabinets, polyurethane is the go-to finish. Your main decision will be between classic oil-based formulas and more modern water-based versions. The choice will affect your project's final look and your application experience.
Oil-Based Polyurethane: This is the traditional workhorse, famous for its incredible durability. It cures to a very hard finish and adds a warm, amber glow that can deepen the look of many wood stains. The trade-offs? It dries slowly, the fumes are strong (high VOCs), and cleanup requires mineral spirits.
Water-Based Polyurethane: This is a popular choice today, as it dries quickly with very little odor. It cleans up with just soap and water, which is a huge plus. It also provides a crystal-clear finish that won’t change your stain color. Modern water-based polys are exceptionally durable.
For most home and commercial projects, water-based polyurethane is an excellent choice. The low odor and fast drying time make the process much smoother and less disruptive.
How to Apply a Bubble-Free Finish
Applying a topcoat is all about finesse. The secret to a glass-smooth finish isn't one thick coat; it's several thin, even coats. This builds strength and eliminates drips, bubbles, and brush marks.
Your applicator matters. Use a high-quality natural bristle brush for oil-based products or a synthetic bristle brush for water-based ones. A cheap brush may shed bristles into your finish—a frustrating mistake.
When you're ready, stir the polyurethane can gently but thoroughly. Never shake the can. Shaking creates a foam of tiny air bubbles that will transfer to your wood and ruin the surface.
Dip your brush and apply the finish in long, smooth strokes, always moving with the wood grain. Overlap each pass slightly to maintain a "wet edge" and prevent lap marks.
Let the first coat dry completely—check the can for the specific recoat time. Once dry, give the surface a very light sanding with 220-grit sandpaper. This quick "scuff" knocks down any dust nibs and gives the next coat something to grip onto. Wipe all dust away with a tack cloth before applying your next coat. For cabinets, two to three coats will give you the rock-solid protection you need.
For a deeper dive into getting that perfect look, it's worth the time to review the finer points of mastering wood finishing techniques.
The Final Reassembly
This is the moment you've been waiting for. Once that final topcoat has fully cured—which can take anywhere from 24 hours to several days—it's time to put everything back together. Be patient here. A finish that feels dry to the touch might not be fully hardened, and you can easily scratch it if you rush.
Grab those labeled bags of hardware. It’s usually easiest to reattach the hinges to the doors first, then hang each door on its original cabinet frame. Finally, install your knobs or pulls.
Take a step back and enjoy the new look. You've just tackled a major project and given your space a complete refresh. While it's an incredibly satisfying DIY, a flawless result requires a serious investment of time and patience.
When to Call a Professional for Cabinet Staining
There's a special kind of pride that comes from a successful DIY project, and staining cabinets can certainly be one of them. But it’s not a simple weekend task. Sometimes, the smartest move you can make for your home or business is recognizing when to let an expert take over. This isn't admitting defeat; it’s making a smart decision for a guaranteed, high-quality result without the headaches.
For most property owners, it really boils down to time versus money. A proper cabinet staining job can easily take up several weekends, and that's if everything goes smoothly. If your schedule is already stretched thin, hiring a professional contractor gets you that flawless finish without sacrificing your valuable time.
Signs You Should Hire a Professional
While the basic idea of staining seems straightforward, some cabinets are just plain tricky. If any of these descriptions sound like your project, it’s a strong signal that calling in an expert is your best bet.
- Intricate Details or Ornate Doors: Do your cabinets have deep grooves, detailed carvings, or louvered slats? These are a nightmare to sand and stain evenly by hand. A pro has the right spray equipment and techniques to get into every nook and cranny without leaving drips or blotchy spots.
- Existing Damage: If you're dealing with deep gouges, water stains, or peeling veneer, staining over it won't fix the problem. A professional contractor knows how to properly repair the underlying wood, which is crucial for a finish that looks good and lasts.
- You're Making a Drastic Color Change: Going from a dark espresso stain to a light, natural wood tone is a huge job. It means chemically stripping the old finish completely, then meticulously sanding to remove every last trace of the old color. It’s a messy, time-consuming process that often requires more than what most DIYers bargain for.
- You Have a Large Kitchen or Commercial Space: The sheer volume of work in a big kitchen, an office space renovation, or a retail build-out makes a DIY approach almost impossible. A professional crew can complete the project in a fraction of the time, keeping disruption to your home or business at a minimum.
The biggest advantage of hiring a professional isn’t just speed—it's the guarantee of a flawless, durable finish. Professionals have controlled environments for spraying, access to commercial-grade products, and the experience to troubleshoot issues that can derail a project for a first-timer.
The Value of Professional Cabinet Refinishing
Bringing in a pro is more than just a time-saver; it’s an investment in a top-tier result that adds value to your property. This is especially true for business owners and facilities managers who need reliable, long-lasting work for their commercial construction and renovation projects.
A team like Wheeler Painting manages every detail, from the painstaking prep work to applying the final protective topcoat. We understand how different wood species—like oak, maple, or cherry—absorb stain, and we know how to achieve that perfect, even color that only comes with years of hands-on experience.
For homeowners, it means your kitchen update is done right the first time. For business owners, it ensures your renovation stays on track with minimal downtime. While there's satisfaction in DIY, there's certainty in a professional job. For a closer look at our process, see what you can expect when working with professional cabinet painters near me.
Ultimately, if you’re looking for a high-end finish without the steep learning curve and time commitment, calling a pro is the way to go.
Ready to transform your cabinets with a guaranteed professional finish? Whether it's a residential kitchen remodel or a large-scale commercial renovation, the expert team at Wheeler Painting is here to help. Contact us today for a stress-free consultation and a detailed estimate for your project.