
Bathtub Surround Options: Choose Your Ideal Style
A lot of people start looking at bathtub surround options after the bathroom gives them a warning sign they can’t ignore. The grout stays dark no matter how much you scrub it. The old fiberglass surround looks stained and tired. A seam near the tub deck feels soft, or the caulk keeps peeling back in the same spot.
In the Puget Sound, those signs matter more than they might in a drier climate. In homes from Seattle to Tacoma, moisture problems rarely stay on the surface. Water gets into corners, window trim, wall cavities, and old framing. What looks like a cosmetic upgrade often turns into a decision about waterproofing, maintenance, and how long the remodel will hold up.
The good news is that there are solid options for almost every type of property. A rental unit in Kent needs something different than a custom primary bath in Seattle. A facility manager planning a tenant improvement has different priorities than a homeowner updating a 1990s alcove tub. The right surround depends on the wall condition, the level of use, the cleaning expectations, and whether you want the lowest upfront cost or the best long-term value.
Your Guide to Choosing a New Bathtub Surround
A typical call starts the same way. The bathroom still works, but the surround looks tired, the caulk keeps failing, or the walls never feel fully dry after baths and showers. In Puget Sound homes, that decision is rarely just about appearance. It is about choosing a system that stays clean, fits the condition of the room, and protects the wall assembly over time.
The best surround is usually the one that matches the property, the users, and the amount of maintenance you are willing to live with. A rental in Tacoma often calls for a durable, easy-clean panel system. A long-term family home in Seattle may justify solid surface or a properly built tile surround if the budget allows for the prep work behind it. Cheap finishes can look acceptable on day one and still become expensive if they stain, flex, or fail at the seams.
Material choice also affects installation time, repair options, and how forgiving the surround will be if the alcove is slightly out of square, which is common in older homes around Seattle, Everett, and Tacoma.
Here is a quick side-by-side look before getting into the details.
| Material | Installed Cost (Approx.) | Lifespan | Maintenance | Puget Sound Pro/Con |
|---|---|---|---|---|
| Acrylic | $1,200 to $2,500 | 10 to 15 years or longer with regular maintenance | Low | Good mold resistance and easy cleaning, but surface quality matters |
| Fiberglass | $900 to $1,500 | 10 to 20 years | Low to moderate | Affordable and simple, but can scratch and fade |
| PVC or composite panels | Qualitative only | 5 to 10 years | Low | Fast, practical coverage, but shorter service life |
| Solid surface | $2,000 to $3,500 | Beyond 20 to 30 years | Low | Strong, repairable, and grout-free, but premium priced |
| Tile | $2,500 to $5,000+ | Qualitative only | Medium | Design flexibility, but grout and waterproofing details have to be right |
Those ranges are useful for budgeting, but they do not tell the whole story. In practice, service life depends heavily on installation quality, cleaning habits, and whether the wall assembly behind the surround was built to handle regular moisture. I have seen lower-cost surrounds last well because the prep was done right, and I have seen expensive finishes fail early because the substrate and waterproofing were rushed.
Practical rule: Focus on the whole assembly, not just the finished face. The right surround has to suit the room, the wall condition, and the people using it every day.
Why Your Surround Matters More in the Puget Sound
A common Puget Sound remodel starts like this. A homeowner plans to swap an old tub surround, the demo begins, and behind the finish we find a window in the wet area, walls that are out of plumb, or drywall repairs from an old leak that never got fully corrected. That is why surround choice matters more here than a generic national guide usually admits.
In Western Washington, the surround is part of a wet wall system. It has to hold up in bathrooms that stay damp longer, in houses that often have older framing, and in alcoves that were not built to modern tolerances. Seattle, Kent, Tacoma, and the neighborhoods between them have a lot of bathrooms where the visible finish is only half the story.
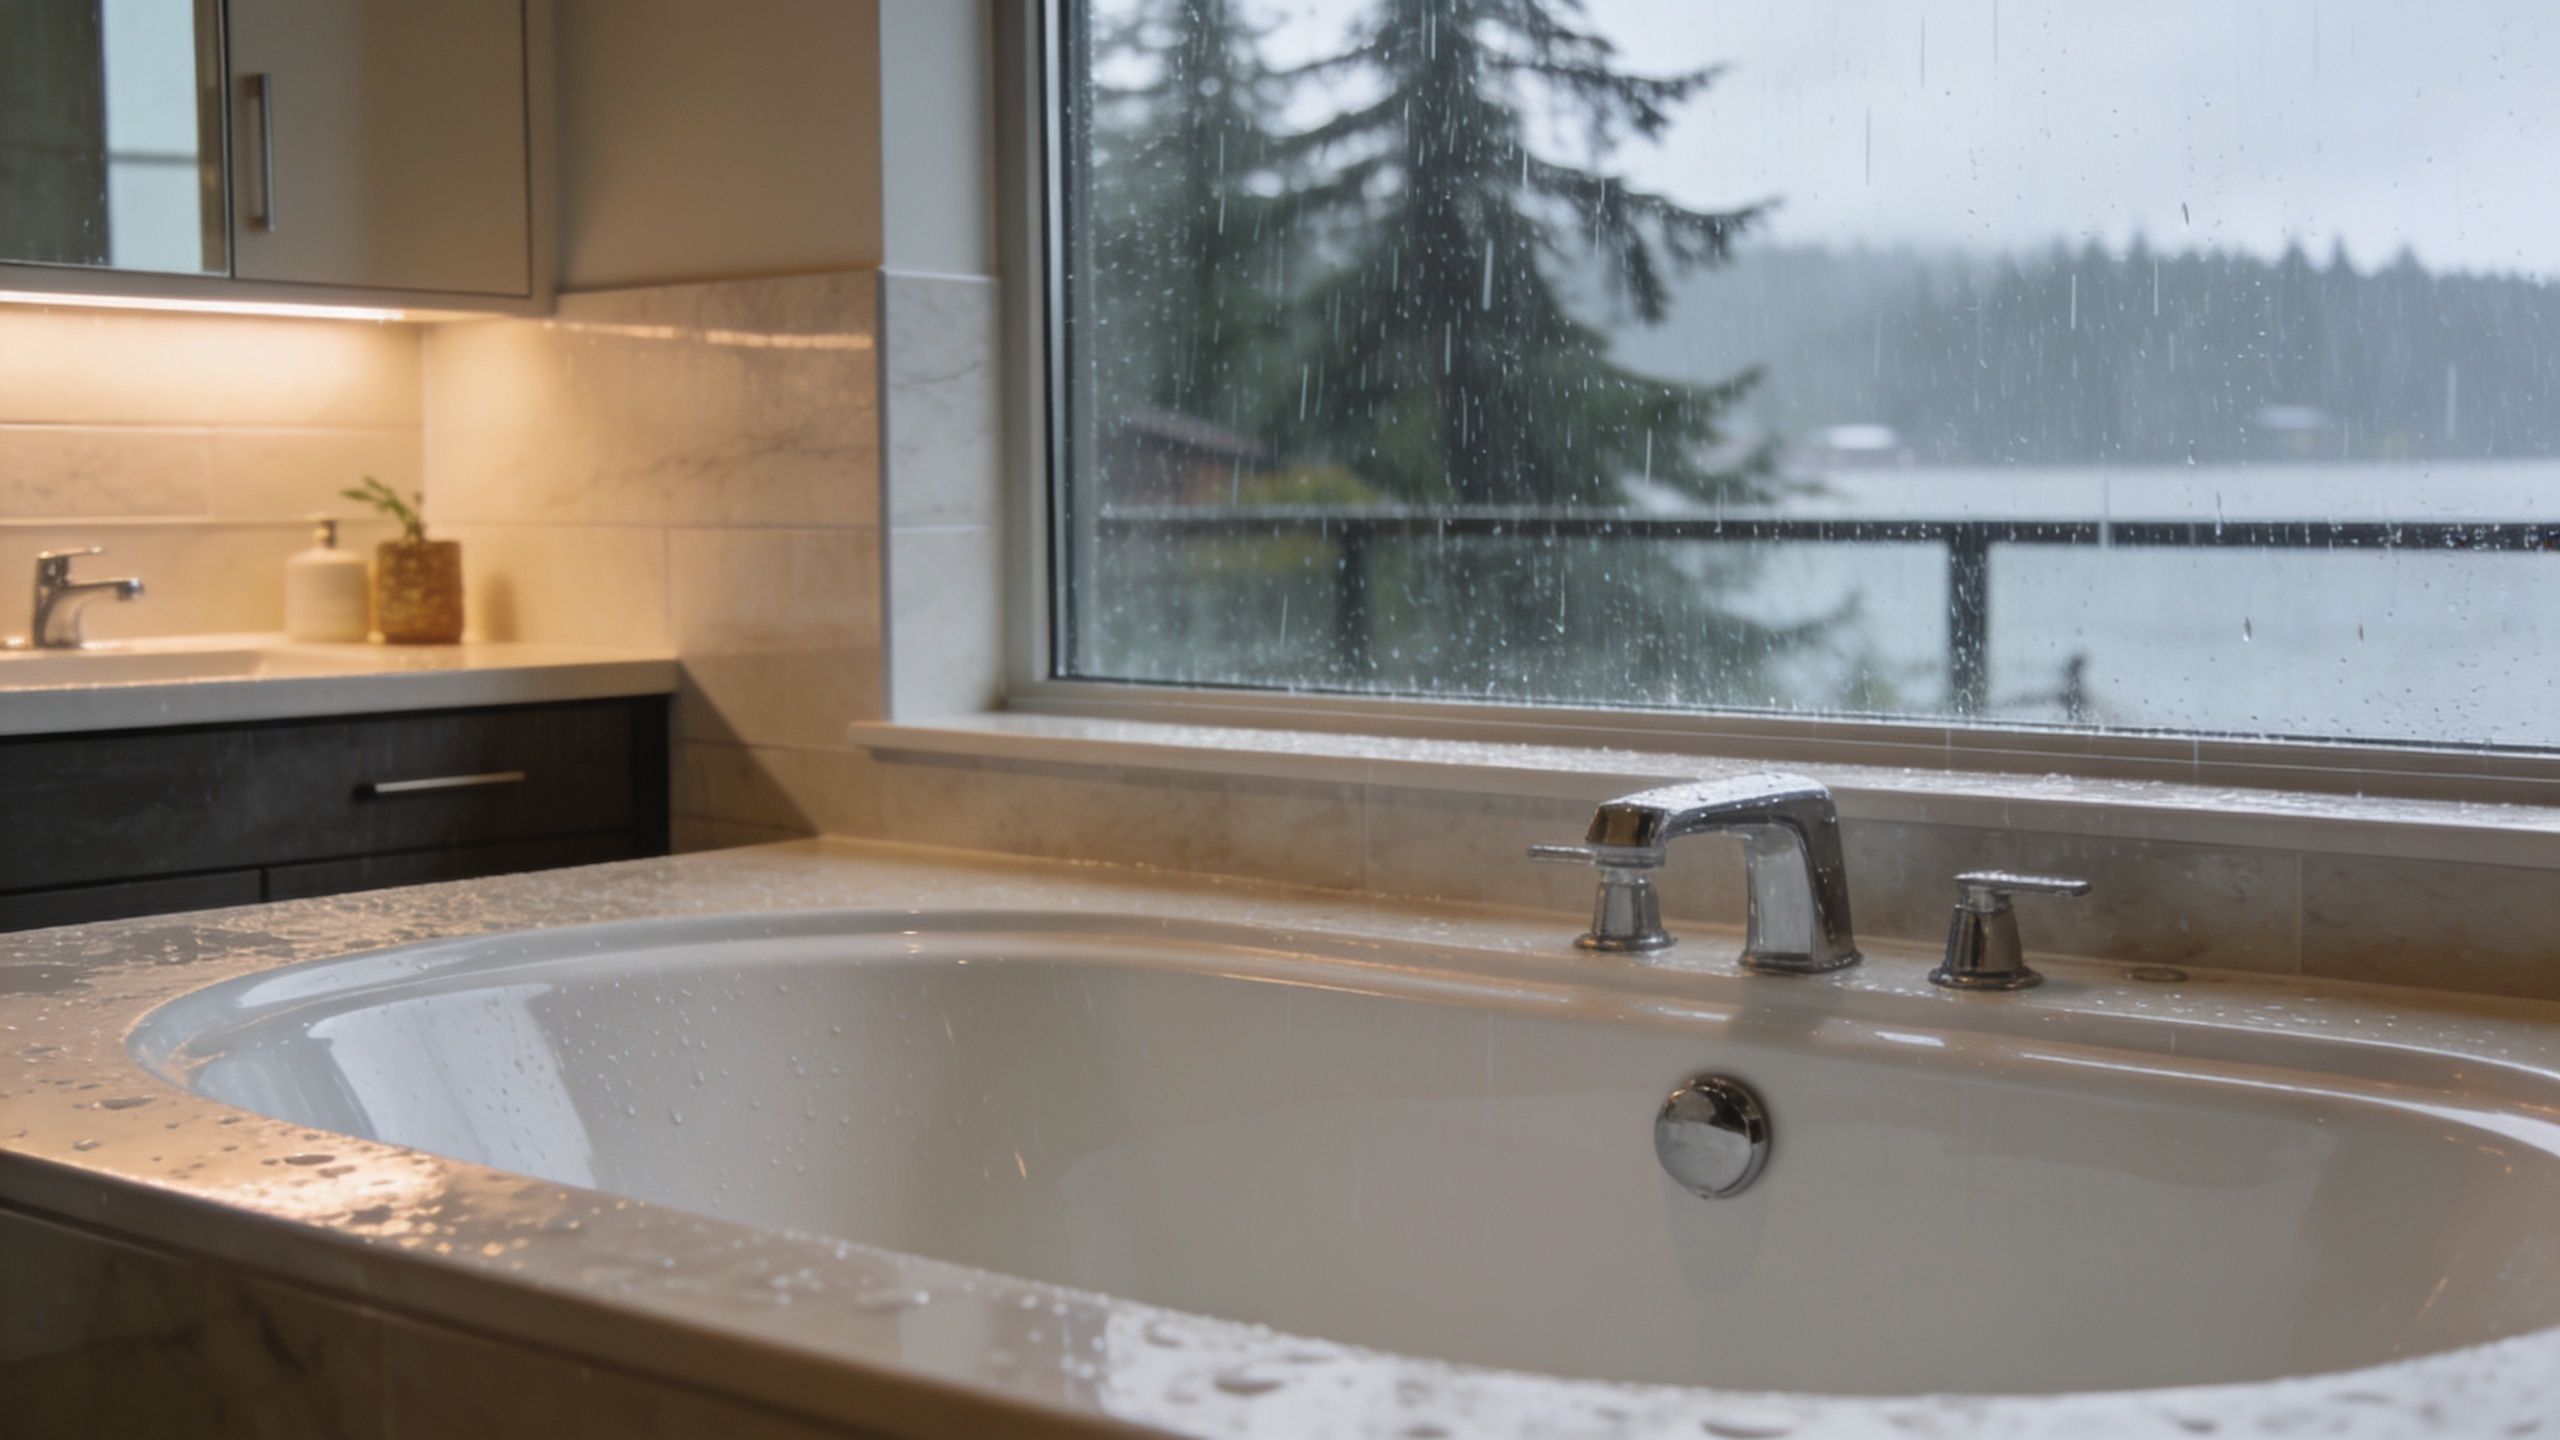
Older homes create common failure points
Prefab surrounds can perform well, but only when the alcove is prepared correctly. In older Puget Sound homes, that prep is often the hard part.
The trouble spots are predictable:
- Bottom seams where water sits and caulk breaks down first
- Vertical corners where movement opens small gaps over time
- Valve and spout penetrations that need careful sealing
- Windows and trim inside the splash zone
- Walls that are out of plumb or out of square and leave voids behind panels
I see this a lot in Seattle bungalows, Tacoma craftsman homes, and mid-century bathrooms across South King and Snohomish County. If a standard surround kit gets forced into a crooked opening, it may look fine at handoff and still develop leaks much sooner than the owner expects.
Moisture protection comes first
The most important job of a bathtub surround is keeping water out of the wall assembly. The finished face matters, but the bigger concern is what happens behind it.
Once water gets past the surface, repairs get expensive fast. Wet framing, damaged insulation, swollen trim, soft subflooring, and staining in the room next door are all common outcomes. For property managers, that can mean tenant disruption and repeat maintenance calls. For homeowners, it usually means a project that grows well beyond the tub alcove.
In the Puget Sound, a surround should be judged first on moisture control, then on appearance.
Local conditions change what works best
National articles tend to treat all bathrooms the same. Puget Sound bathrooms are not the same. Many need shimming, scribing, reframing, or custom trim work before the surround can be installed correctly, especially in older homes with settled walls and patched substrates.
That is one reason grout-free systems do well here. Fewer joints usually means fewer places for water to work in and fewer maintenance points for the owner. Tile can still be an excellent choice, especially if you want a period-appropriate look or a custom layout. But tile asks more from the installer and from the waterproofing plan behind it. If you want to compare tile options, start by matching the material to the room conditions, not just the style.
In this climate, a good-looking surround is not enough. A surround that fits the alcove properly, ties into a sound waterproofing system, and stays serviceable for years is the better investment.
A Detailed Comparison of Bathtub Surround Materials
In a Seattle or Tacoma bath remodel, the material decision usually comes down to one question. What will still look good and stay dry after years of daily use in a room that may already have uneven walls, old framing, and limited ventilation?
That is how I evaluate surrounds in the field. Price matters, but fit, service life, and how forgiving the material is in a real Puget Sound bathroom matter more.
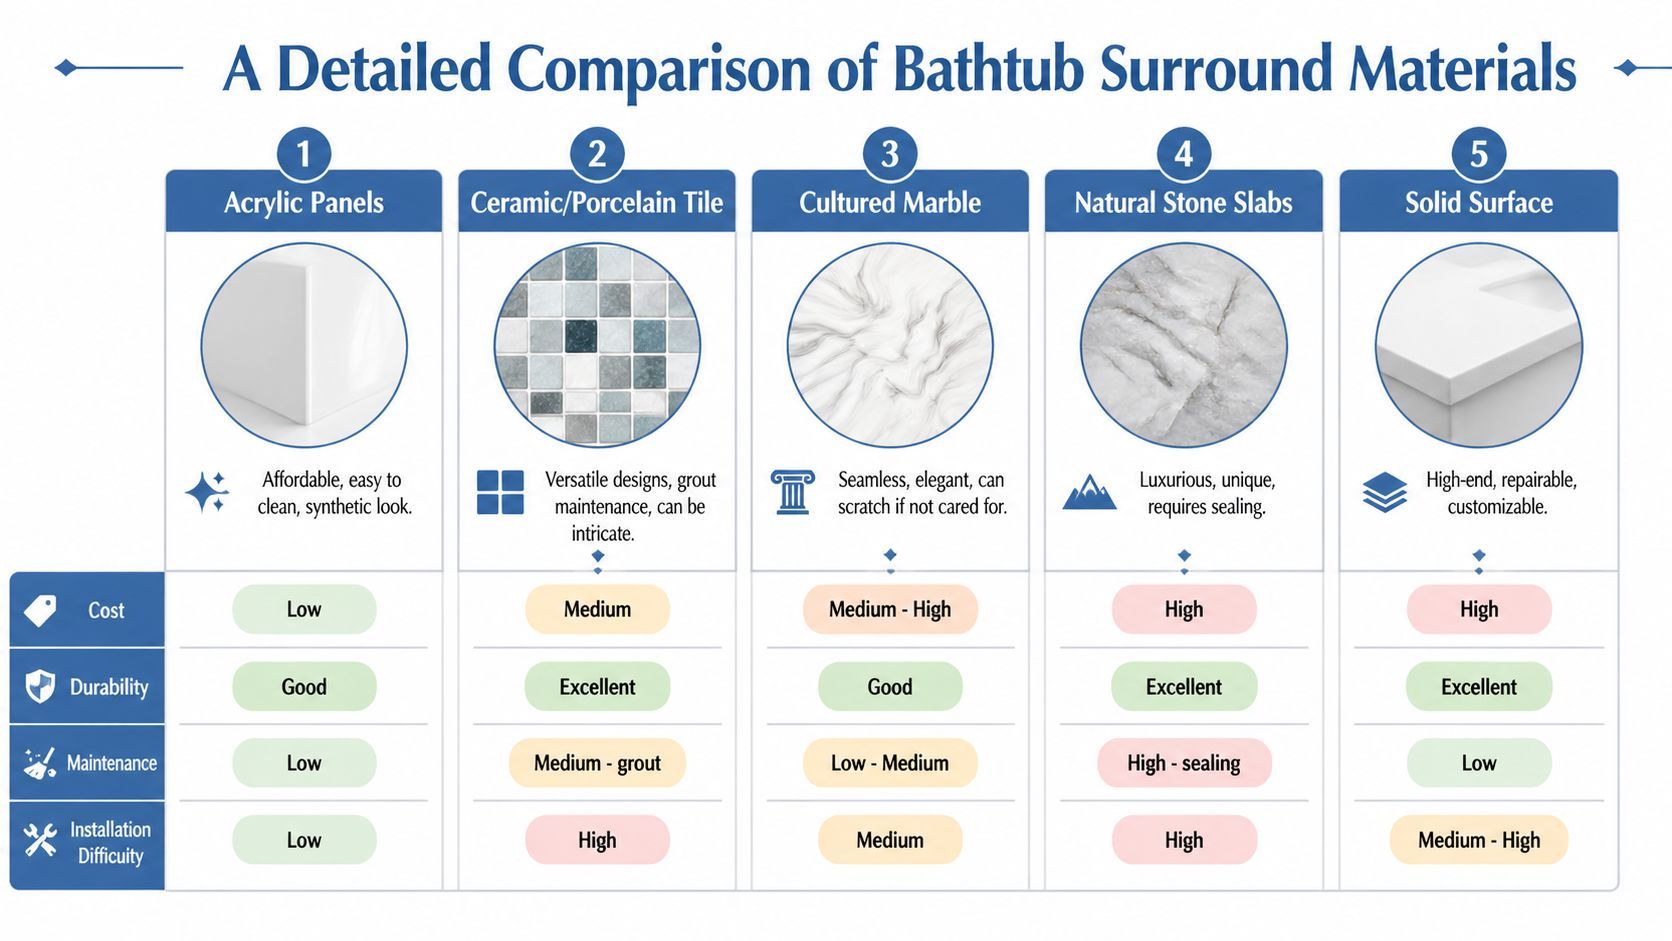
Bathtub surround material comparison
| Material | Installed Cost (Approx.) | Lifespan | Maintenance | Puget Sound Pro/Con |
|---|---|---|---|---|
| Acrylic | $1,200 to $2,500 | Often a solid mid-range service life | Low | Grout-free and easy to clean, but panel fit and backing matter |
| Fiberglass | $900 to $1,500 | Moderate if treated gently | Low to moderate | Budget-friendly, but easier to scratch and fade |
| PVC wall panels | Qualitative only | Usually shorter-term than premium options | Low | Good for fast coverage and custom fitting, but less durable |
| Solid surface | $2,000 to $3,500 | Long-term option | Low | Durable, repairable, and premium looking |
| Engineered stone | $1,200 to $2,500 | Qualitative only | Low to moderate | Attractive, but impact resistance can be a concern |
| Tile | $2,500 to $5,000+ | Can last a long time with proper assembly | Medium | Flexible design, but more joints and more labor |
Acrylic surrounds
Acrylic is a practical choice for a lot of residential projects. It is lightweight, easy to clean, and usually faster to install than tile, which helps in occupied homes and rental turnovers.
The better acrylic systems have fewer seams and simpler trim details. That helps in our region, where small installation errors around corners, valve cuts, or window returns can turn into recurring maintenance problems. In older Puget Sound homes, I pay close attention to whether the alcove is square before recommending a panel kit.
Acrylic works well for:
- Standard alcove tubs with predictable dimensions
- Family bathrooms where low maintenance matters
- Rental units that need a clean, durable finish without grout care
It is a weaker choice when:
- The wall framing is badly out of plane and the installer tries to force a factory kit to fit
- The material is thin and flexes under hand pressure
- Fixture trim, edge trim, or caulk joints are treated as cosmetic details instead of water-control details
A good acrylic surround can hold up well for years. A thin kit over a poorly prepared wall usually does not.
Fiberglass surrounds
Fiberglass is usually the low-cost entry point. For a straightforward bath in a condo, basement unit, or basic hall bathroom, it can make sense.
The trade-off is wear. Fiberglass tends to scratch more easily, lose gloss sooner, and show hard use faster than acrylic or solid surface. In rental housing around Seattle and Tacoma, that often means the surround is still functional but already looks tired.
Fiberglass fits best when:
- The budget is tight
- The alcove is standard enough for a clean install
- The owner accepts that appearance may age faster than structure
For long-hold ownership, I usually only recommend fiberglass when the budget leaves no room for a better panel system.
Solid surface surrounds
Solid surface is one of the best long-term values if the budget allows it. It feels more substantial than thin panel products, avoids grout maintenance, and can often be repaired if it gets scratched.
The product data is strong. Corian solid surface polymer in 1/2-inch (13 mm) thickness is listed with 6000 psi tensile strength, 1.5 x 10^6 psi tensile modulus, and 7890 psi flexural strength in this specification on solid surface shower and tub wall surrounds. The same source notes installed costs of $2,000 to $3,500 and lifespan beyond 20 to 30 years. It also notes 99% water impermeability post-install.
In practical terms, that means fewer maintenance calls, easier cleaning, and a surround that still feels solid years later. For homeowners planning to stay put, or property managers trying to reduce repeat turnover work, solid surface is often money well spent.
Best uses include:
- Primary bathrooms where durability matters more than lowest first cost
- Higher-end remodels that still need easy cleaning
- Commercial or multi-unit settings where repairability has value
The main drawback is the upfront price. Still, compared with redoing a cheaper surround too soon, the math can work out in its favor.
To sort out whether a tiled look is worth the added joints and maintenance, it can help to compare tile options before choosing between true tile and large-format wall panels.
PVC and composite wall panel systems
PVC and other composite panels fill a specific niche. They install quickly, cover a lot of wall area, and can be useful when a bathroom needs a practical reset without the time and cost of tile.
High molecular PVC systems are specified at a minimum 0.090-inch sheet thickness, with ceiling-height models reaching about 82 inches from tub rail to ceiling and covering 100+ square feet in larger applications, according to these PVC tub and shower surround specifications. The same source notes that standard 60×30-inch 3-piece kits cover about 40 to 45 square feet, and that full-wall coverage can cut labor 20 to 30% versus custom tile.
That labor savings is useful in occupied units, insurance repairs, and commercial work where downtime costs money. Some systems also handle custom trimming better than off-the-shelf fiberglass units.
The trade-off is longevity and feel. Many of these products are better suited to utility-minded remodels than premium bathrooms, especially if the room gets hard daily use.
A good fit:
- Rental properties
- Basement or secondary bathrooms
- Commercial washrooms where cleanability matters more than a custom finish
A poor fit:
- High-end remodels
- Homes where owners want the surround to feel substantial and age gracefully
Here’s a useful installation overview if you want to see how some systems are assembled in the field.
Tile surrounds
Tile remains a strong option, especially in older Puget Sound homes where walls are rarely simple and the bathroom may need custom cuts around windows, niches, sloped ceilings, or trim conditions. A good tile installer can solve design problems that prefab panels cannot.
Tile also asks more from the assembly. More joints mean more maintenance, and the finish is only as reliable as the substrate, membrane, and sealant work behind it. If you want a tile surround, make sure the installer also understands wet-area waterproofing in construction, not just layout and grout lines.
Tile makes the most sense when:
- The bathroom has unusual dimensions
- The design needs a custom layout or period-appropriate finish
- The owner is willing to maintain grout and sealant joints
Tile causes trouble when:
- Waterproofing is treated as a separate issue instead of part of the whole wall assembly
- Cheap setting materials are used to save a little money upfront
- Corner joints, tub transitions, and penetrations are finished carelessly
In Seattle craftsman homes and Tacoma foursquares, tile can be the right answer. It just has to be built correctly.
Engineered stone and cultured marble style systems
Engineered stone and cultured marble products sit between basic panel systems and premium solid surface. They can give a bathroom a cleaner, more upscale look than fiberglass or thin acrylic, often with fewer joints than tile.
Their weak point is impact performance and repair expectations. The solid surface specification cited above compares solid surface favorably against engineered stone in impact resistance, noting that solid surface is less likely to crack under normal residential impacts such as dropped shampoo bottles. That does not rule out engineered stone. It means the buyer should understand how the product behaves before choosing it.
These systems work best for owners who want an upgraded look without committing to a full tile installation. If the priority is maximum repairability and long service life, solid surface is often the better value.
Beyond the Panels Waterproofing and Backer Boards
A surround can only perform as well as the assembly behind it. If the wall system isn’t built for moisture, even a premium finish won’t save the bathroom.
That’s where many remodels go wrong. Homeowners focus on panel style, color, and edge trim. The contractor should be focused just as hard on the substrate, waterproofing layers, penetrations, and transitions at the tub flange.
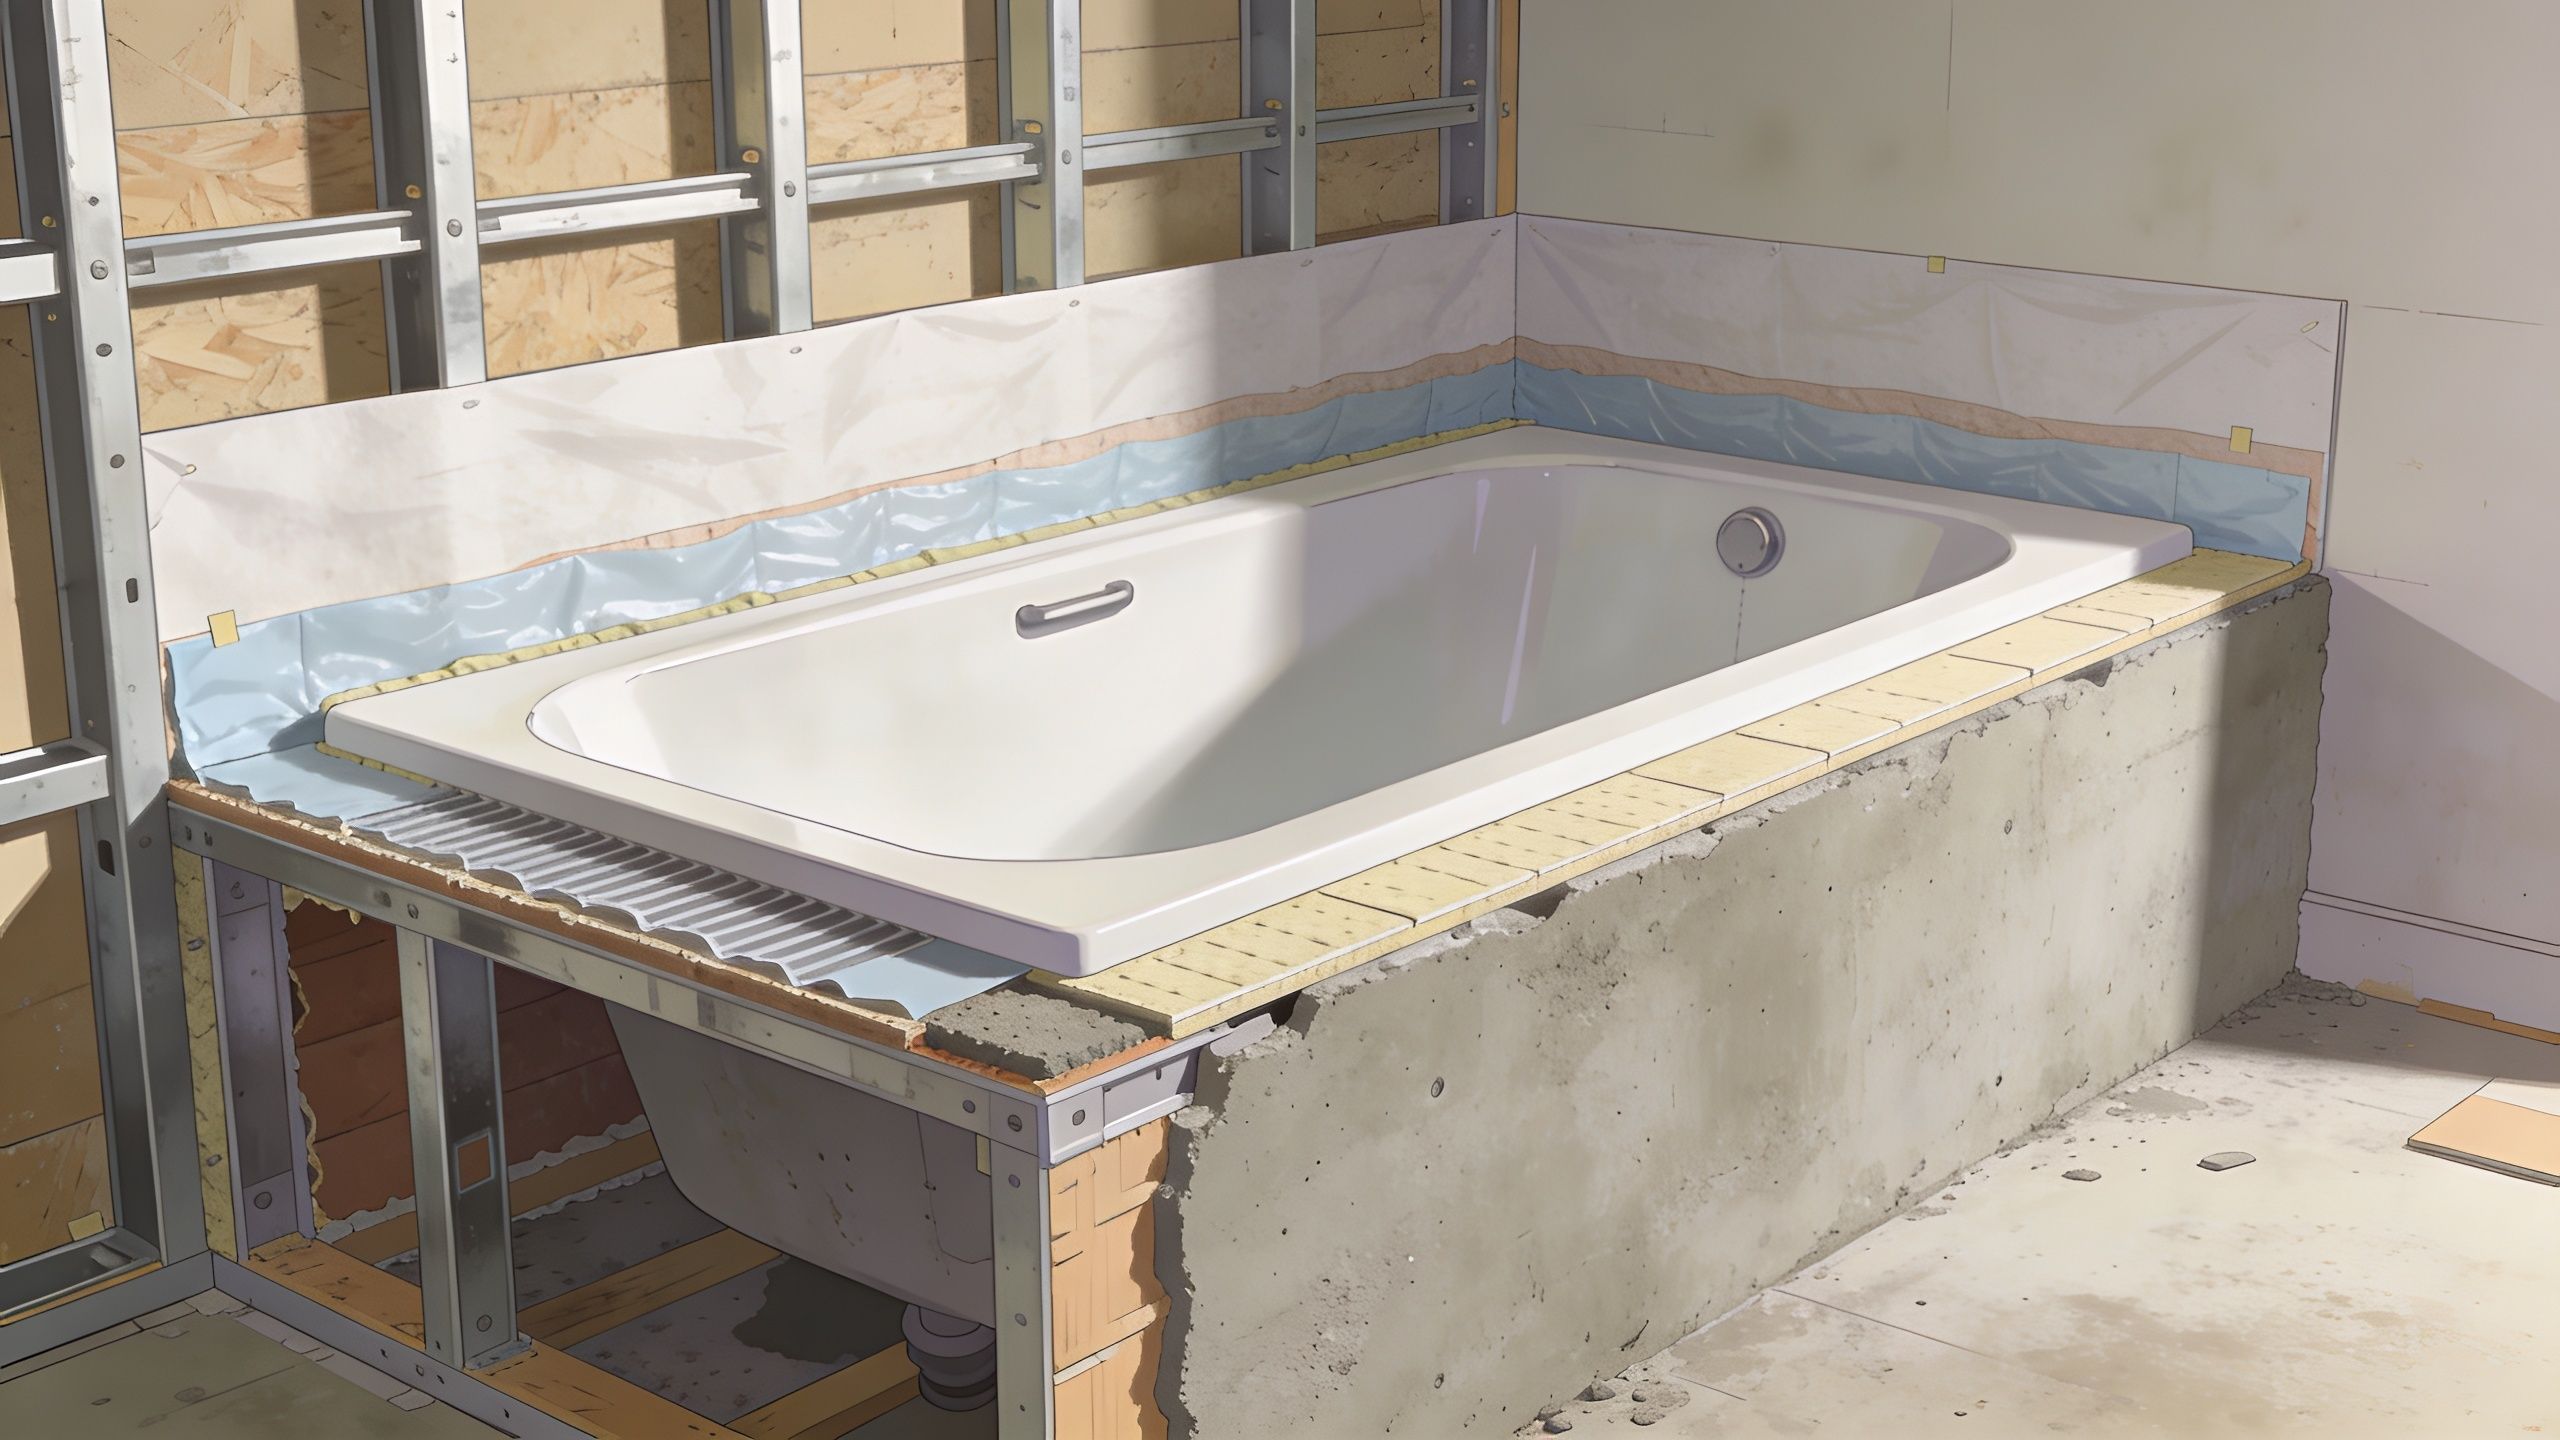
What should be behind the surround
In wet areas, the usual conversation is between cement board, fiber cement board, and waterproof foam board systems. Each has a place. What matters is using a system designed for a wet wall and installing it completely.
Common good choices include:
- Cement board for tile assemblies where rigidity and moisture tolerance matter
- Fiber cement board when the installer wants a strong, stable tile backer
- Waterproof foam boards such as KERDI-BOARD style systems for lighter, integrated waterproofing assemblies
What should raise concern is ordinary drywall inside a tub surround area. Even moisture-resistant drywall is not the same thing as a true wet-area assembly. Once water finds a path through a seam or penetration, the wall can deteriorate quickly.
For a plain-language overview of why this matters, this guide on what waterproofing means in construction is a useful starting point.
Waterproofing is a system, not a product
A lot of failures happen because people talk about “waterproof walls” as if one material handles everything. It doesn’t.
A reliable tub surround assembly usually includes several coordinated steps:
Wall prep
The framing is checked, shimmed, or corrected so the surround sits flat and drains the way it should.Backer selection
The right board is installed for the chosen finish material.Seam treatment
Joints, corners, and fastener penetrations are handled according to the system requirements.Tub-to-wall transition
The detail at the tub flange is built so water returns to the tub, not behind it.Penetration sealing
Valves, spouts, and accessory mounts are sealed without guesswork.
If the installer can’t explain the waterproofing sequence clearly, that’s a warning sign.
Where older bathrooms need extra attention
Puget Sound remodels often need more than standard prep. In older houses, the walls may bow, old finishes may hide damage, and windows inside the splash area may need a full waterproof trim strategy.
That’s one reason some “one-day install” promises fall apart on real remodels. The visible surround might go up quickly. The hard part is making sure the substrate is flat, stable, and dry enough for a long-lasting result.
A good surround installation looks simple when it’s finished. The work that makes it reliable is mostly the part you don’t see.
Important Design and Accessibility Considerations
A bathtub surround should look right in the room, but it also needs to work for the people using it. That includes how it feels to clean, how it handles daily wear, and whether the bathroom will still be practical years from now.
For bathtub surrounds, style and function must align. A glossy acrylic panel can brighten a small hall bath in Kent. A matte solid surface surround can create a more polished finish in a Seattle primary bath. Tile can add character in older Tacoma homes where a perfectly symmetrical panel layout may not suit the architecture.
Design choices that age well
The safest design choice is usually the one that doesn’t fight the room. In practical terms, that means:
- Large panels help small bathrooms feel less busy
- Tile patterns add visual detail, but they also add maintenance points
- Stone-look finishes can give a high-end appearance without the upkeep of natural stone
- Neutral surround colors tend to stay relevant longer than highly specific trends
If the surround will sit next to a glass enclosure, it helps to think through those pieces together. Homeowners comparing configurations often find it useful to design your custom shower door before finalizing wall finishes, especially when trying to balance trim finishes, panel thickness, and door swing.
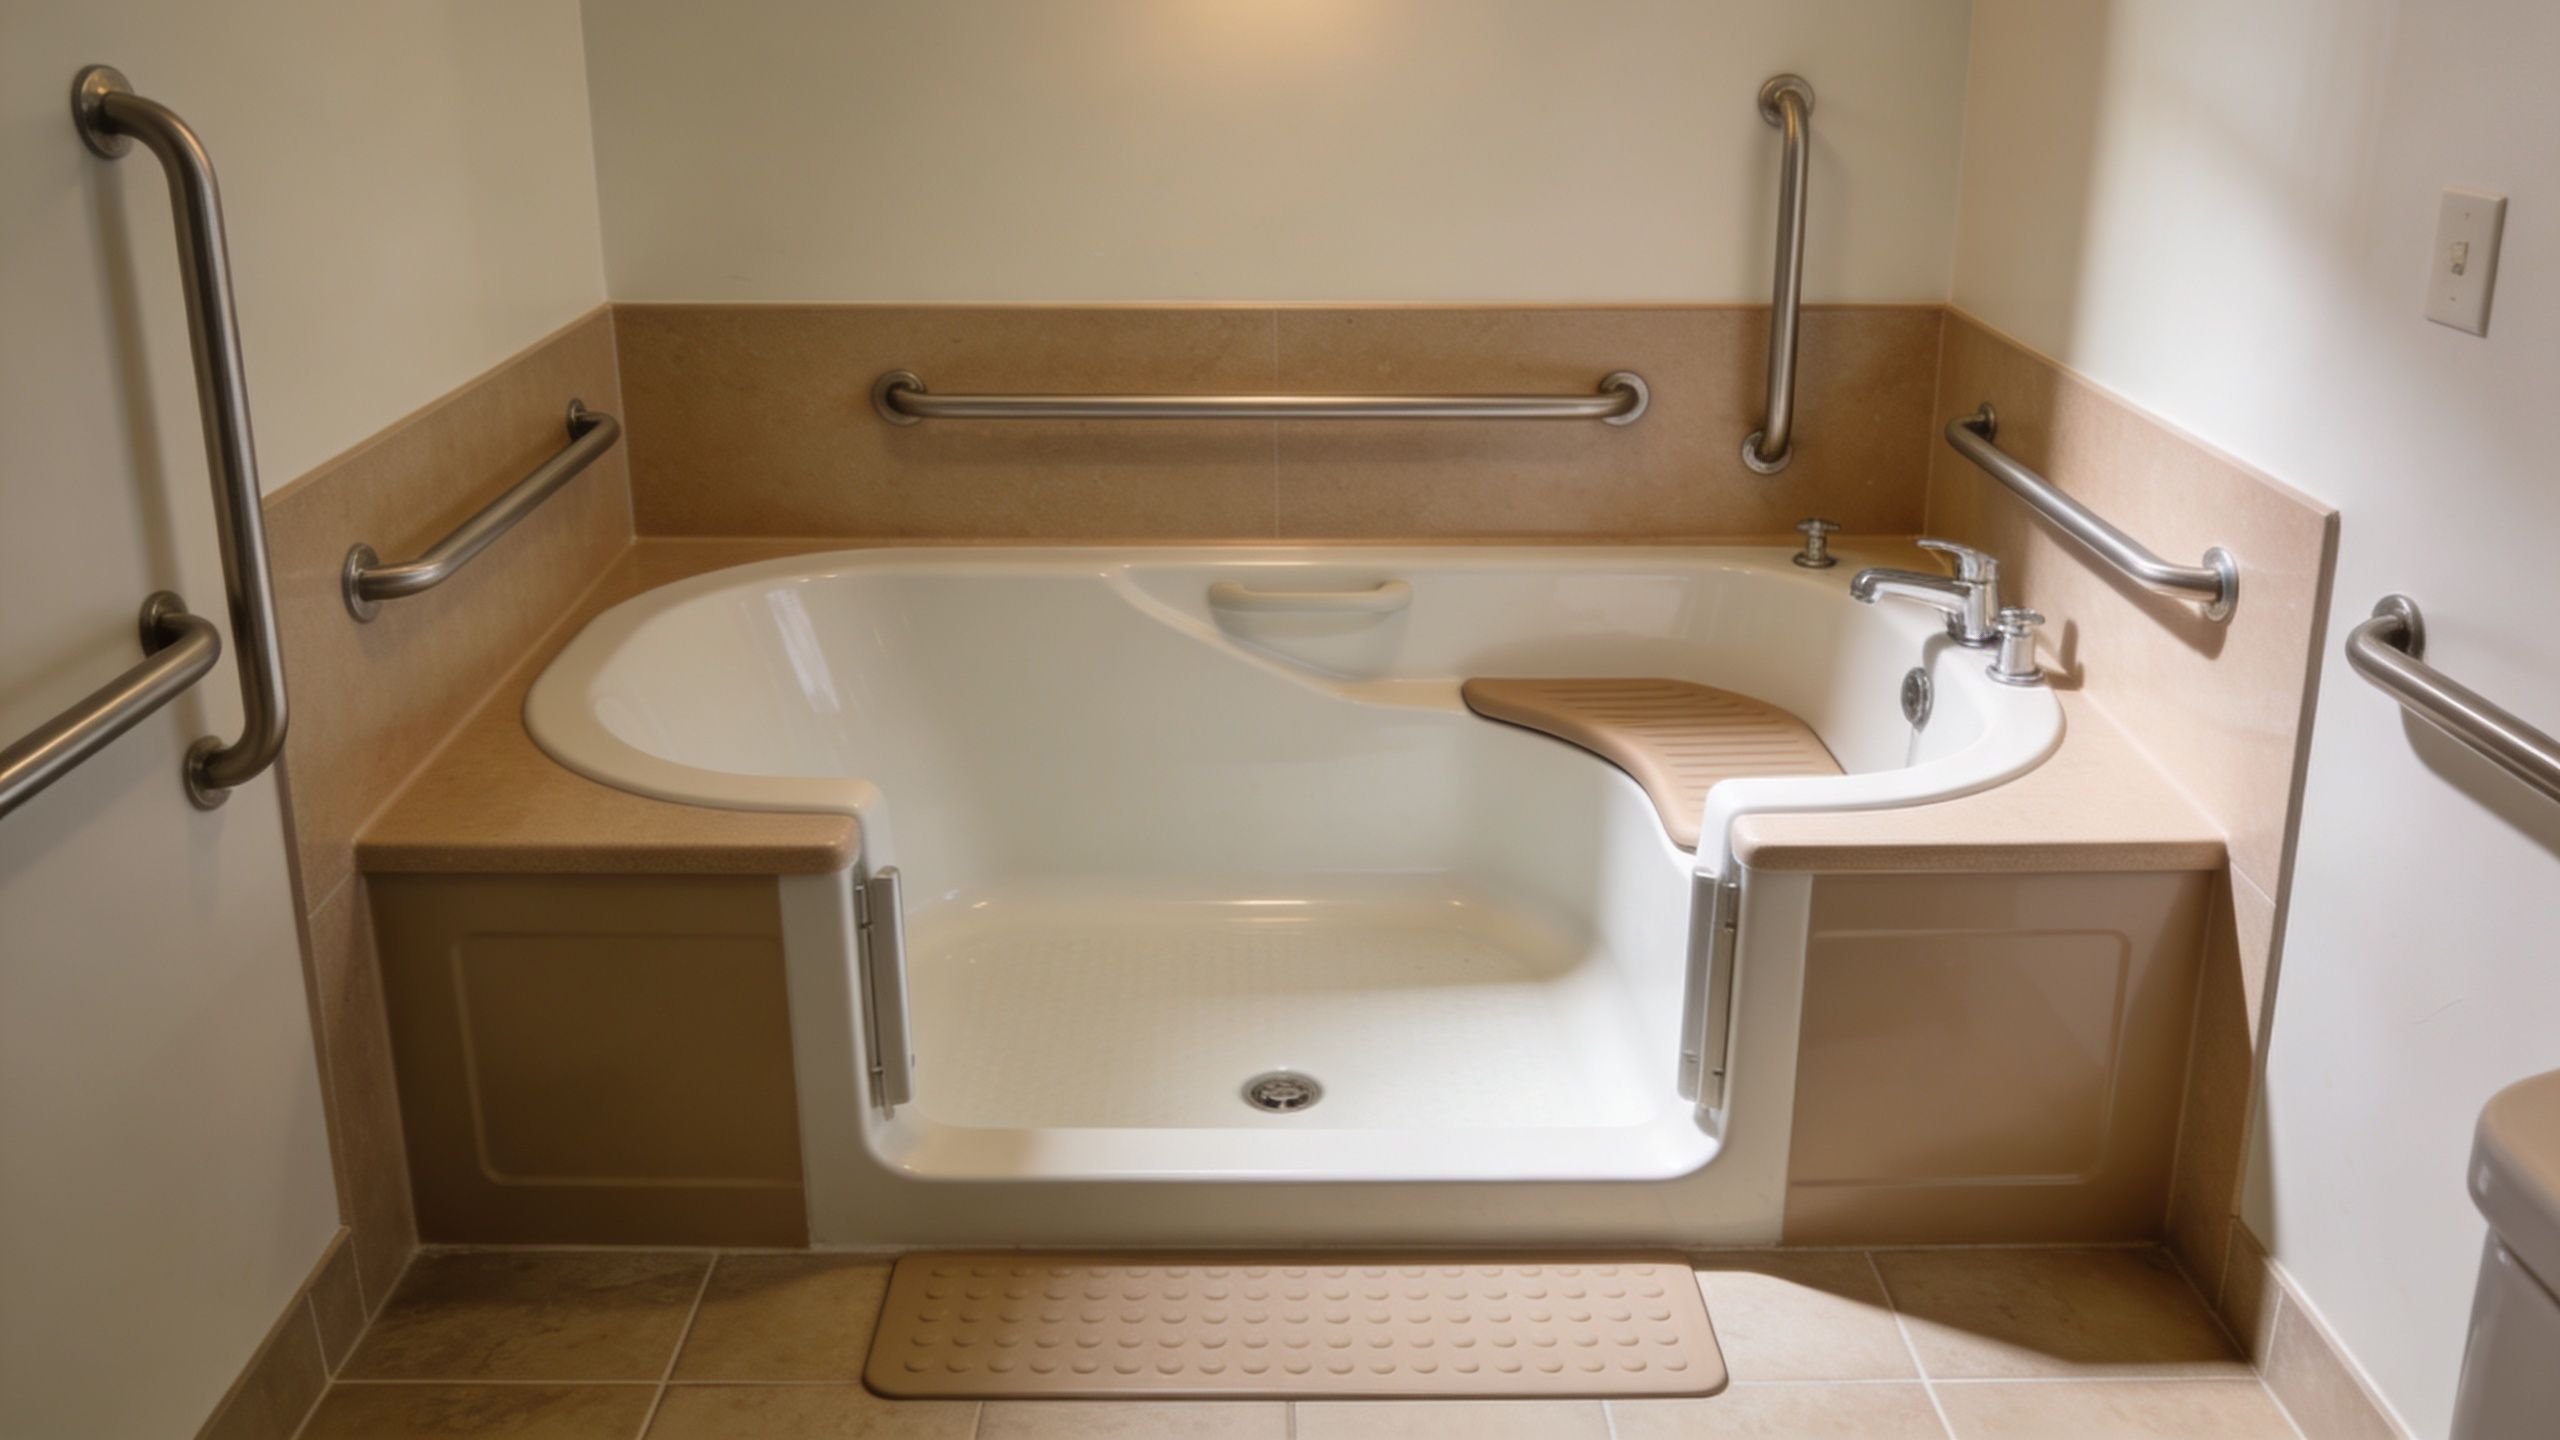
Accessibility starts behind the finish
Accessibility features should be planned before the walls are closed up. That’s true whether the project is for aging in place, post-injury recovery, or commercial use where safer access matters.
Grab bars, handheld showerheads, low-threshold entries, and seating all require backing and layout planning. Some surround materials make that easier than others. Tile gives flexibility for accessory placement, but the wall backing still has to be there. Solid surface and panel systems can look clean and modern, but they also need support points mapped out in advance.
Important questions to ask:
- Will this tub or shower area need grab bars now or later?
- Is there a user who has limited mobility or balance concerns?
- Will a handheld shower make the space easier to use?
- Should shelving be recessed, surface-mounted, or built in?
For households planning ahead, this page about a handicap accessible shower gives a good overview of what to think about before final design selections are locked in.
The best accessible bathroom doesn’t look institutional. It looks intentional, comfortable, and easy to use.
Practical comfort matters
A surround should also support everyday comfort. Shelf placement, cleaning reach, glare from glossy finishes, and how cold or warm a material feels all affect whether people end up liking the bathroom once the remodel is done.
That’s why the “best” bathtub surround option is rarely just a material decision. It’s a use decision.
DIY Installation vs Hiring a Professional Contractor
A bathtub surround can look straightforward on delivery day and still go sideways once the walls are open. I see that often in Seattle and Tacoma area homes, especially where an older bathroom has been patched a few times, the framing is out of square, or past moisture has softened the wall cavity around the tub.
A careful DIY install can work in the right setting. A basic acrylic or fiberglass kit in a newer home, with a standard alcove and solid, dry walls, gives you a fair shot. But the work has to be accurate from the substrate forward. Panel fit, fixture cutouts, adhesive, corner treatment, and tub-to-wall sealing all have to be right the first time, because small water-entry points rarely stay small in our climate.
When DIY can work
DIY is more realistic if the project looks like this:
- Standard alcove tub with predictable dimensions
- Walls that are dry and solid after demolition
- No window in the wet area
- No plumbing moves or framing repair
- A surround system built for straightforward installation
Even with those conditions, attaching panels is only part of the job. Keeping water out of the wall assembly is what determines whether the installation holds up.
When a professional is the safer choice
Professional installation usually makes more sense in the kinds of bathrooms common around Puget Sound. Older homes often have bowed studs, plaster transitions, hidden rot at the tub flange, or layers of previous remodel work that were never corrected. Condensation and slow leaks also tend to leave more damage than homeowners expect.
Tile surrounds, custom panel layouts, in-shower windows, and accessibility upgrades raise the difficulty fast. So do tenant turns and primary bathrooms, where downtime and callbacks cost real money.
The expensive part of a failed install is rarely the surround itself. It is opening the walls again, replacing damaged backer, drying the cavity, repairing trim or flooring outside the tub area, and then reinstalling the surround correctly.
DIY mistakes usually do not show up on install day. They show up later at a seam, a corner, or the ceiling below the bathroom.
The practical decision
DIY can reduce labor cost up front. Hiring a contractor lowers the chance of leaks, manufacturer warranty problems, uneven panel lines, and tear-out work a year later.
For a low-use guest bath with simple conditions, DIY may be a reasonable choice. For a main bath, an older Seattle craftsman, a Tacoma rental, or any bathroom where moisture control matters more than first cost, professional installation is usually the better value.
If you are still weighing scope, budget, and how much risk makes sense for your property, this bathroom remodel planning guide will help you sort out those decisions before materials are ordered.
Finding the Right Remodeling Partner in the Puget Sound
The right contractor for a bathtub surround project isn’t just someone who can install panels or tile. You want a remodeling partner who understands moisture management, older regional housing stock, and the difference between a quick cosmetic fix and a durable bathroom assembly.
What to look for
A few things separate a dependable contractor from a risky one:
Local remodel experience
A contractor who regularly works in Seattle, Kent, Tacoma, and the communities between them will be more prepared for older wall conditions, window details, and uneven framing.Clear waterproofing approach
Ask what goes behind the surround, how corners are treated, and how the tub-to-wall transition is handled.Detailed written proposals
Good proposals explain scope, not just price.Relevant project examples
Look for similar bathrooms, not just pretty finished photos.Communication style
Bathroom remodels go better when the contractor explains options plainly and flags issues early.
For anyone planning a larger bathroom update, this guide to bathroom remodel planning is a helpful checklist for the conversations you should be having before materials are ordered.
A good fit matters
Some companies are built for very large projects only. Others focus only on quick-turn bath systems. Many homeowners and property managers need something in between. They want a contractor who can handle small to mid-size remodels, tenant improvements, and moisture-related repairs without treating the project like an afterthought.
That’s especially important when the surround decision is tied to broader work such as drywall repair, trim replacement, waterproofing, painting, or floor restoration.
Frequently Asked Questions About Bathtub Surrounds
Can you install a new surround over existing tile
Sometimes, but it depends on the condition of the existing tile, the wall flatness, and whether there’s any hidden moisture damage. Covering tile can make sense in limited situations with certain panel systems. It’s a poor choice if the substrate is loose, uneven, or already leaking.
What’s the best bathtub surround option for a rental property
For many rentals, acrylic or a durable panel system is the practical choice because cleaning is easier and grout maintenance is reduced. The right answer still depends on turnover, expected wear, and whether the bathroom walls need correction before new materials go in.
How do you maintain a solid surface surround
Solid surface is one of the easier materials to live with. Regular cleaning with non-abrasive products usually does the job, and minor surface scratches can often be repaired rather than forcing a full replacement. That repairability is one reason many owners choose it for long-term value.
Are eco-friendly bathtub surround options available
Yes, but “eco-friendly” can mean different things. Some owners focus on longevity and choosing a material that won’t need replacement soon. Others care more about manufacturing content or the ability to repair instead of replace. In practice, the most sustainable option is often the one that stays watertight, lasts well, and avoids repeated tear-outs.
Is tile always the most upscale option
No. Tile can look excellent, but upscale doesn’t always mean best. A well-designed solid surface or slab-look panel surround can feel cleaner, more modern, and easier to maintain than a busy tile layout with a lot of grout joints.
If you’re weighing bathtub surround options for a home, rental, or commercial bathroom between Seattle and Tacoma, Wheeler Painting & Restoration Services can help you sort through the trade-offs. Their team handles residential remodeling, tenant improvements, waterproofing, and restoration work with the practical local experience these bathrooms require. Reach out for a consultation if you want a surround that looks good, protects the structure, and holds up in the Puget Sound.


 “Like” us on Facebook!