Tag Archive for: kitchen cabinet painting

Average Cost of Repainting Kitchen Cabinets: A 2026 Guide

Professional cabinet repainting usually falls between $2,000 and $6,500 for a typical kitchen, and many painters price it around $30 to $60 per linear foot of cabinetry. If your kitchen is small and straightforward, you may land near the lower end. If it's larger, heavily worn, or needs a finer sprayed finish, the number climbs.

A lot of homeowners around Seattle, Tacoma, and Bellevue start in the same place. The cabinets still work, the layout is fine, but the kitchen looks tired. Maybe the finish has yellowed, maybe the doors feel dated, or maybe the wood grain and old color just don't match the rest of the house anymore.

Repainting can be the sweet spot between living with a kitchen you don't like and paying for a full remodel. The hard part is that “average cost” doesn't always help much unless you know what's included. Two kitchens can look similar from across the room and price very differently once prep, material, and finish expectations are on the table.

Giving Your Kitchen a Fresh Look Without a Full Remodel

If your cabinets are structurally sound, repainting is often the most practical way to change the whole feel of the kitchen without tearing everything out. Homeowners in Tacoma, West Seattle, Issaquah, and Bellevue ask this question all the time because cabinets take up so much visual space. Change the cabinet finish, and the room looks different fast.

That's also why cost varies more than people expect. You're not just paying for paint. You're paying for cleaning, sanding, masking, primer selection, finish application, dry time, reassembly, and the skill it takes to make doors and drawer fronts look smooth instead of streaky or sticky.

Why repainting makes sense

A full remodel can be the right move when cabinets are failing, layouts don't work, or you're changing everything anyway. But if the cabinet boxes are solid, repainting is usually the more efficient upgrade.

A well-planned paint job can help achieve expensive-looking kitchen remodels without replacing usable cabinetry. That matters in Western Washington, where homeowners often want a meaningful visual upgrade without turning the kitchen into a long construction project.

Practical rule: If the cabinet structure is good and the complaint is mostly color, sheen, or dated appearance, painting is usually worth pricing before replacement.

Color choice matters too. Lighter tones can open up a smaller kitchen, while deeper colors can make a larger space feel more custom. If you're still deciding on direction, these kitchen cabinet paint color ideas are a useful starting point before you ask for estimates.

The Average Cost to Repaint Kitchen Cabinets in 2026

The average cost of repainting kitchen cabinets depends on how the project is measured. Some contractors think in square feet, some in linear feet, and some in door and drawer count. For homeowners, that can feel confusing, but the numbers become easier to understand once you see them side by side.

A widely cited 2026 market benchmark places cabinet repainting at $3 to $10 per square foot, or roughly $30 to $60 per linear foot, with professional projects typically landing between $2,000 and $6,500 for a standard kitchen, according to Kitchen Search's cabinet repainting cost guide.

What the common pricing formats mean

Square foot pricing is useful when a contractor is estimating total painted surface area.

Linear foot pricing is easier for many homeowners because you can roughly measure the run of base and wall cabinets.

Per-door pricing is also common in the trade. Angi notes that many painters charge $100 to $250 per door in addition to reporting a broader market average for cabinet repainting in its 2026 cabinet painting cost guide from Angi.

Estimated Cabinet Repainting Costs 2026 Professional Rates

Pricing Metric Typical Low-End Cost Typical High-End Cost
Per square foot $3 $10
Per linear foot $30 $60
Per door $100 $250
Typical professional project $2,000 $6,500
Small kitchen $2,000 $3,500
Medium kitchen $3,500 $6,500
Large kitchen $6,500 $10,000+

Those numbers are useful, but they don't all describe the same kind of job. Angi reports an average cost of $938 with a typical range of $425 to $1,463, while also noting costs can run from $180 for a small DIY project up to $3,200 for a large professionally painted kitchen in that dataset. That spread is one reason homeowners get mixed answers online. Some averages include lighter-scope work and DIY scenarios, while others reflect a more complete professional process.

How to read those averages in Puget Sound

In the Seattle and Bellevue area, homeowners should treat national averages as a starting point, not a quote. A straightforward kitchen with simple door styles and clean surfaces may fit neatly into a consumer-facing average. A larger kitchen with worn finishes, heavy grease buildup, oak grain, or a sprayed furniture-style finish usually won't.

The more useful question isn't “What's the average?” It's “What kind of cabinet job is this?”

If you want another market example to compare how pricing logic changes by region and finish expectations, Arsh Art's pricing for Toronto cabinet painting is a good outside reference. Not because Toronto pricing applies to Washington, but because it shows how cabinet painters think about scope, prep, and finish level rather than just a single flat number.

What Really Drives the Price of Cabinet Painting

The final quote usually comes down to labor. Paint matters, but prep decides how much time goes into the job and whether the finish will hold up.

A diagram illustrating the six key factors influencing the total cost of painting kitchen cabinets professionally.

A national estimating model places cabinet painting at $5.40 to $10.79 per square foot for full professional execution under varying site conditions in Homewyse's cabinet painting cost model. That's a helpful benchmark because it reflects what happens when the work includes real-world prep, not just color going onto a clean, simple surface.

Prep changes everything

Cabinets in an active kitchen collect grease, wax, hand oils, and cooking residue. If that buildup isn't removed thoroughly, primer and topcoat won't bond the way they should. That's where low bids often cut corners.

Common prep items that push cost upward include:

  • Heavy cleaning: Cabinets near cooktops and ranges usually need more degreasing than homeowners expect.
  • Sanding and deglossing: Slick factory finishes and previously painted surfaces need proper mechanical or chemical prep.
  • Repairs: Chips, failed caulk lines, dents, and hinge wear add labor before painting even starts.
  • Masking and containment: Protecting counters, floors, appliances, and adjacent rooms takes time, especially in occupied homes.

A cabinet quote that seems surprisingly low usually means something has been removed from the process, not that the work somehow became easier.

Material and cabinet style matter

Not all cabinet surfaces behave the same. Smooth painted maple, laminate, MDF, open-grain oak, and older clear-coated wood all ask for different prep and primer decisions. Detailed doors with grooves and profiles also take longer than flat slab fronts.

The finish goal matters too. A brushed refresh and a finer sprayed look are not the same product, labor plan, or result. If a homeowner wants a smoother, furniture-like appearance, the prep standard has to rise with it.

If you're trying to understand how cabinet material affects paintability, this overview of cabinet types helps connect wood species, construction style, and finish expectations.

Puget Sound conditions affect pricing too

Western Washington homes often bring their own challenges. Older housing stock in Seattle and Tacoma can mean multiple past coatings, wear around sink bases, or trim details that need careful handling. In higher-end homes around Bellevue, Kirkland, and Snoqualmie, the expectation is often a cleaner sprayed finish, tighter sheen control, and more refined reinstallation.

That doesn't always mean the kitchen is dramatically bigger. It means the tolerance for flaws is lower, and the labor standard is higher.

DIY vs Professional Painting A Cost and Quality Comparison

You price out a few gallons of cabinet paint, some sandpaper, primer, and a sprayer rental, and DIY can look like the obvious money-saver. Then the actual work starts. Doors need to come off, grease has to be cleaned fully, edges need proper sanding, and the kitchen may stay partly out of service longer than expected.

A comparison chart outlining the pros and cons of DIY versus professional kitchen cabinet painting services.

As noted earlier in Angi's 2026 guide, the spread between small DIY projects and full professional cabinet repainting is wide. That gap exists for a reason. DIY cuts labor cost, but it puts prep, product selection, setup, cleanup, and finish risk on the homeowner.

Around Seattle, Tacoma, and Bellevue, that trade-off gets sharper because many kitchens are used hard and live in tighter floor plans. A homeowner painting in place has to control dust, protect adjacent finishes, and find room for doors and drawers to dry without getting bumped, stacked, or handled too soon. In a damp Western Washington climate, cure time can also test your patience.

Where DIY can make sense

DIY is a reasonable choice for a small kitchen, a rental, or a lower-stakes space where a few brush marks or minor wear issues are acceptable. It also helps if you already own the tools and have a clean area to lay out doors for several days.

DIY usually goes better when:

  • The layout is simple: Fewer doors and drawers means fewer chances for labeling mistakes and damage during reinstallation.
  • The cabinets are structurally sound: Loose hinges, swollen sink-base panels, and failing old coatings raise the difficulty fast.
  • The finish standard is realistic: A serviceable painted update is different from a smooth, sprayed furniture-grade result.
  • You understand prep: A good sanding sequence matters. This guide to a perfect finish gives a useful baseline for how grit choice affects the final surface.

A careful DIYer can get a decent result. A rushed DIY job usually shows itself at the corners, around pulls, and where doors meet face frames.

Why professional work costs more

Professional cabinet repainting costs more because the work is slower, more controlled, and less forgiving than wall painting. Labor goes into removal, labeling, cleaning, masking, sanding, priming, spraying or brushing in the right conditions, drying, curing, and putting everything back together without damaging the new finish.

This video gives a useful visual reference for what a cabinet painting process can involve in practice.

For Puget Sound homeowners, the practical differences usually look like this:

Consideration DIY Professional
Upfront cash outlay Lower Higher
Time required from homeowner High Low
Tool and setup burden High Low
Finish consistency Depends on skill, space, and patience More controlled
Durability Depends heavily on prep and cure discipline More dependable when the process is handled correctly
Disruption in the home Often longer Usually more organized

One practical option in this category is Wheeler Painting & Restoration Services, which handles cabinet painting as part of its residential painting and remodeling work in the Puget Sound region. That can help if the cabinet repaint is only one part of a broader kitchen update and you want one crew coordinating the sequence.

If the goal is to spend as little as possible and the finish expectations are modest, DIY can be the right call. If the goal is cabinets that look clean, feel smooth, and hold up to daily use in a busy Seattle or Tacoma kitchen, professional repainting usually gives the better long-term value.

The Professional Cabinet Repainting Process and Timeline

Most homeowners don't see the part of cabinet painting that takes the longest, because the visible color change comes at the end. The actual work starts before the first coat goes on.

A professional infographic outlining the seven-step process for cabinet repainting by Wheeler Painting for home renovation.

What a professional job usually looks like

A solid cabinet repaint typically follows a disciplined sequence:

  1. Consultation and site review
    The contractor checks cabinet condition, door style, existing finish, and any damage around sink areas, toe kicks, or hinges.

  2. Removal and labeling
    Doors, drawer fronts, and hardware are organized so everything goes back where it belongs.

  3. Masking and surface protection
    Floors, counters, appliances, and nearby rooms need protection before sanding and coating begin.

  4. Cleaning and prep
    Degreasing comes first. Then sanding, patching, caulking where needed, and primer selection.

  5. Finish application
    Frames and boxes are coated carefully. Doors and drawers are often finished separately for a smoother result.

  6. Cure time and reinstallation
    Dry to the touch isn't the same as ready for use. At this stage, patience pays off.

  7. Final adjustment
    Doors are rehung, reveals are checked, and hardware alignment is corrected.

What homeowners should expect during the job

The kitchen usually remains partially usable, but not fully convenient. Drawers may be out. Doors may be off. Access to cabinets can be limited while coatings cure.

That's normal. A good process protects the finish instead of rushing reassembly.

For prep quality, sanding grit and surface readiness matter more than many people realize. Homeowners who want to understand that part of the process can look at this guide to a perfect finish, which helps explain why sanding choices affect adhesion and smoothness.

Cabinet painting should feel methodical. If it feels rushed, the finish usually looks rushed too.

Timeline expectations without fake precision

The timeline depends on kitchen size, site conditions, humidity, drying windows, and how the contractor handles door finishing. In occupied homes around Seattle, North Bend, or New Castle, logistics can stretch the job more than homeowners expect because crews need to protect the house, keep dust under control, and avoid reinstalling doors before the coating is ready.

What matters most is sequence, not speed. The right order of prep, primer, topcoats, and cure time gives you the durable finish you were paying for in the first place.

Get a Clear Estimate for Your Tacoma or Seattle Kitchen

National averages are useful for setting expectations, but they won't tell you what your kitchen will cost. Cabinet condition, finish level, door style, layout, and access all matter. That's why two neighbors in Bellevue can each say they “painted their cabinets” and have very different invoices and very different results.

A professional kitchen contractor showing a digital price estimate to a client on a tablet.

What a useful estimate should include

A good cabinet estimate should tell you more than a total number. It should help you understand what's being priced and what finish standard you're buying.

Look for clarity on points like these:

  • Scope of work: Are cabinet boxes, doors, and drawer fronts all included?
  • Prep level: Will the contractor clean, sand, repair, and prime as needed?
  • Application method: Are surfaces being brushed, rolled, sprayed, or done with a mixed method?
  • Hardware handling: Are doors and drawers removed, labeled, and reinstalled?
  • Protection and cleanup: What happens inside the home while the work is underway?

How to budget with confidence in Western Washington

In Tacoma, Seattle, Issaquah, Kirkland, and nearby communities, labor expectations and finish standards tend to be higher than the bare-minimum examples homeowners often see online. That doesn't mean repainting isn't worth it. It means you should compare estimates based on process, not just price.

A lower number can still be the wrong value if it skips cleaning, uses the wrong coating, or leaves visible texture where you expected a cleaner look. A higher number can be justified if the cabinets need serious prep and the finish goal is closer to built-in furniture than ordinary wall paint.

If you want a local starting point for comparing options, this page on cabinet painters near me is a practical next step.

The best estimate is the one that makes the process clear enough that you know what you're buying before work begins.

For most homeowners, that clarity is what removes the stress. You can decide whether repainting fits your budget, whether your current cabinets are worth saving, and whether the finish you want matches the scope being proposed.


If you're planning a kitchen update in Tacoma, Seattle, Bellevue, Kirkland, Issaquah, New Castle, North Bend, Snoqualmie, or West Seattle, Wheeler Painting & Restoration Services can provide a clear, project-specific estimate so you can compare real scope, real prep, and real finish expectations without guessing.
Sherwin Williams Kitchen Cabinet Colors: A Puget Sound Guide

A lot of homeowners in Seattle, Kent, and Tacoma stand in their kitchen and have the same reaction. The layout still works. The cabinets are solid. But the room feels tired, darker than it should, and harder to update than expected.

A full remodel isn’t always necessary to change that feeling. Cabinet painting can shift the whole room, especially when the color is chosen for Pacific Northwest light instead of copied from a bright, sun-heavy kitchen in another part of the country. In this region, overcast skies, common wood tones, and moisture from daily cooking all affect how cabinet paint looks and how long it lasts.

That’s why sherwin williams kitchen cabinet colors deserve more thought than a quick trip to the paint store. The right white can soften a dim kitchen and make it feel larger. The wrong greige can go flat. A dramatic navy or black can look polished in one home and heavy in another.

Your Guide to a Kitchen Transformation

A dated kitchen usually doesn’t fail all at once. It happens in layers. Yellowed cabinet finishes, busy wood grain, older hardware, and a color that absorbs more light than you realized. Before long, the whole room feels older than the rest of the house.

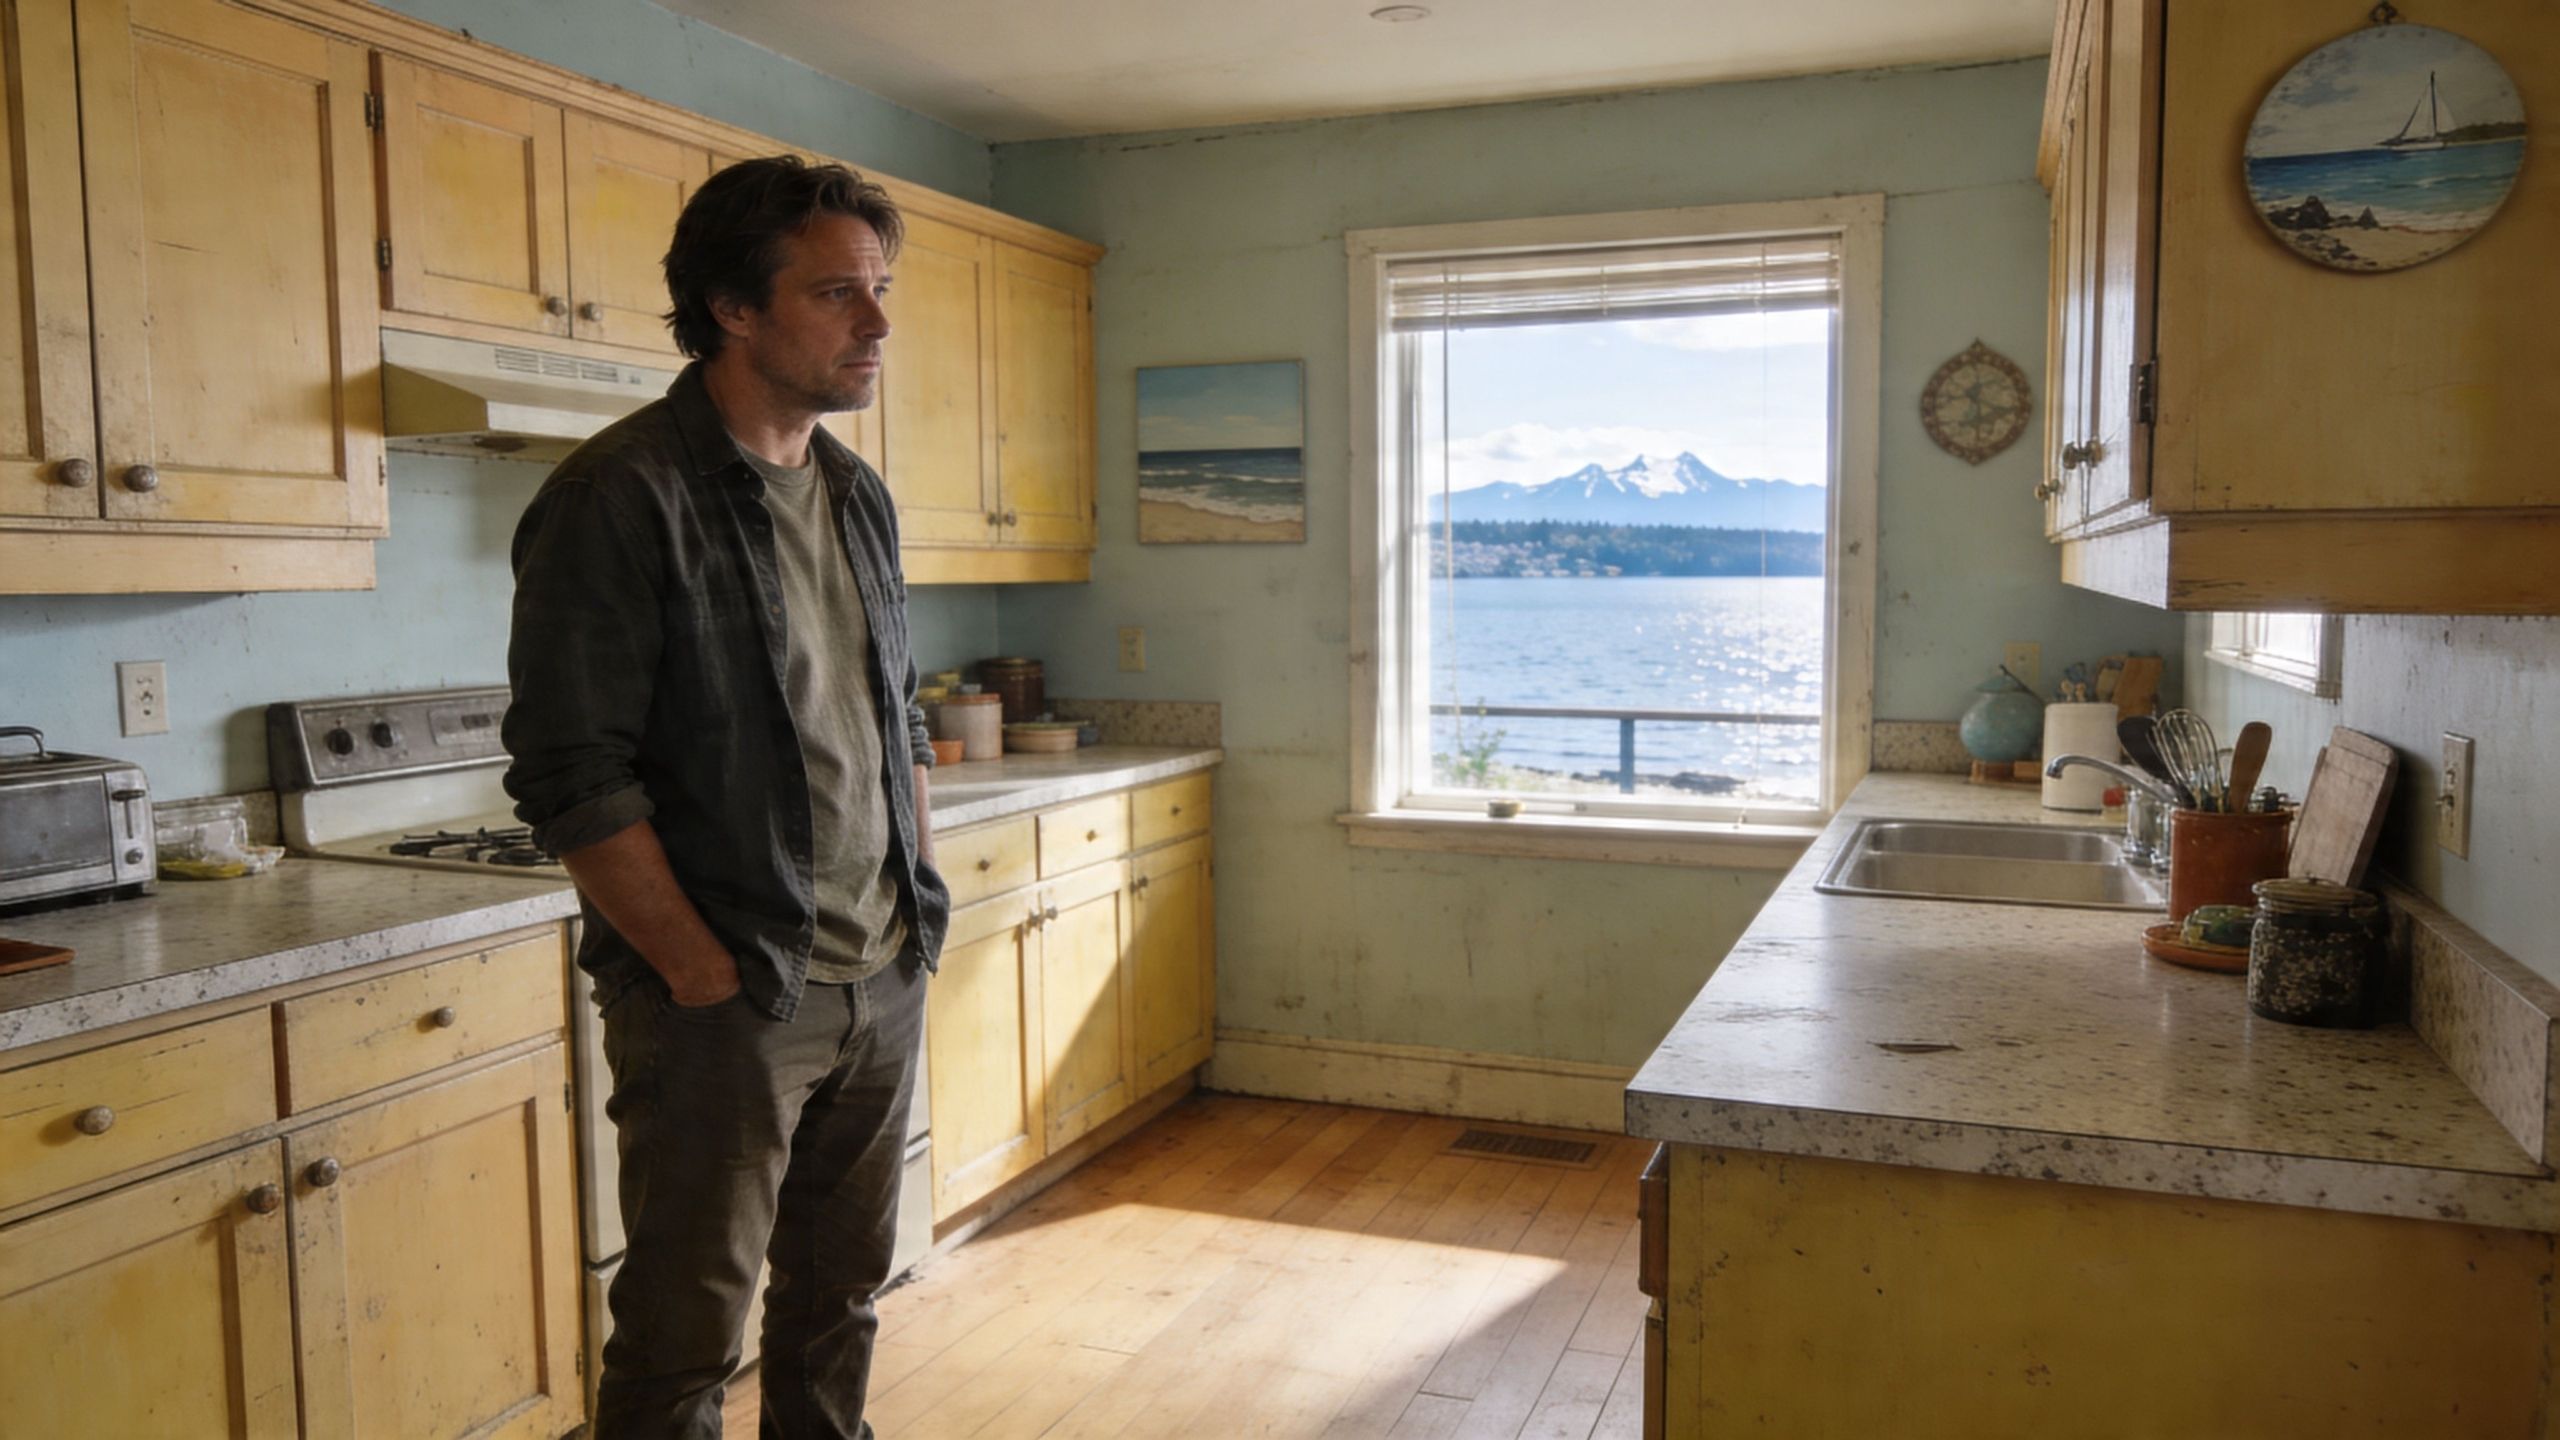
A man stands in a vintage kitchen with worn yellow cabinets, looking out a window at a scenic mountain landscape.

Cabinet painting is often the point where a kitchen starts feeling manageable again. You keep the footprint, avoid the disruption of a full tear-out, and put your budget where it changes the room most. For many properties between Seattle and Tacoma, that’s the practical middle ground between living with a dated kitchen and committing to a full renovation.

The part that overwhelms people isn’t usually the painting itself. It’s the color decision. White sounds simple until you see ten whites. Beige sounds safe until it turns pink or muddy. Black looks sharp online, then feels too heavy in a kitchen that doesn’t get much daylight.

A cabinet color never lives by itself. It always shows up next to countertops, flooring, backsplash tile, lighting, and the weather outside your window.

A smart starting point is to separate the visual change from the storage problem. If your kitchen also feels cluttered, this guide on how to organize kitchen cabinets helps homeowners think through function before they repaint around a layout that still isn’t working.

The payoff is real when the color is chosen well. Cabinets become the clean backdrop the room was missing, and the kitchen starts to feel brighter, calmer, and easier to maintain day to day.

Fundamentals of Choosing the Right Cabinet Color

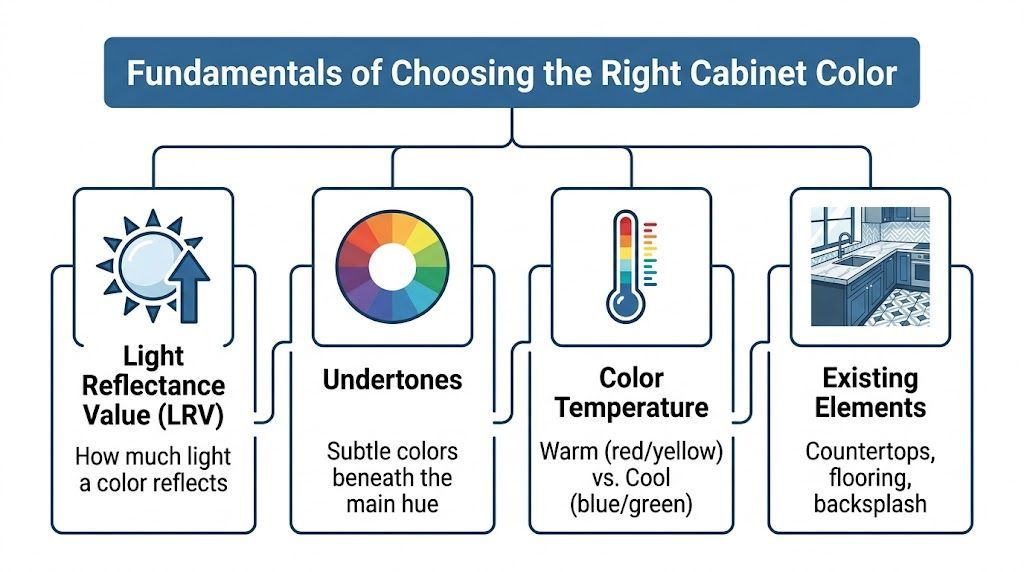
Most cabinet color mistakes come from choosing by name instead of performance. "White," "greige," and "navy" don’t tell you enough. The better approach is to judge each color by how it handles light, what undertone sits under it, and what sheen will look right after real daily use.

A helpful infographic showing four key factors to consider when choosing the right kitchen cabinet color.

Light reflectance matters more than most people think

LRV, or Light Reflectance Value, tells you how much light a paint color reflects. Visualize the difference between wearing a black jacket and a white shirt on a cloudy day. One holds onto light. The other throws it back into the room.

In Puget Sound kitchens, that matters. A higher-LRV cabinet color can help a room feel more open and less compressed during darker parts of the year. A lower-LRV color can look rich and grounded, but it needs the right setting.

Sherwin-Williams trends have also shifted away from cool grays toward warmer greige neutrals, bleached blondes, and bold matte navies, according to Sherwin-Williams Industrial Wood’s look at kitchen cabinetry trends. That move makes sense locally because warmer cabinet colors usually read more comfortably under overcast skies than sharp, icy grays.

Undertones decide whether a color works or fights the room

A cabinet color can look white at the store and still lean yellow, gray, green, or beige once it’s installed. That hidden bias is the undertone, and it’s often what creates the "something feels off" reaction.

Here’s what to check before committing:

  • Countertops first: If the counters have warm veining or creamy tones, a stark cool cabinet color can feel disconnected.
  • Flooring second: Orange-toned wood floors and some older fir trim can make cool cabinet colors look harsher.
  • Backsplash and wall color last: These can support the cabinet color, but they rarely fix a mismatch created by the larger fixed finishes.

For a broader comparison of common cabinet tones, this article on good colors for kitchen cabinets is useful as a secondary reference point when clients are trying to narrow down style direction before sampling.

If your existing cabinets are wood and you're trying to predict how paint and undertones will behave over the substrate, it also helps to understand the species you're working with. Wheeler has a practical overview of types of kitchen cabinet woods that can help you identify what’s already in the room.

Practical rule: Never judge a cabinet color from a tiny chip alone. Sample it beside the countertop, floor, and backsplash in both morning and evening light.

Sheen changes both the look and the maintenance

Color gets most of the attention, but sheen changes how cabinets wear. For most kitchens, satin and semi-gloss are the finishes worth considering.

Semi-gloss is easier to wipe down and usually gives you a crisper, more reflective look. Satin is slightly softer and can be more forgiving on older cabinet doors that have minor texture, grain telegraphing, or repair marks.

There’s also a trade-off with darker colors. Sherwin-Williams notes that matte and low-sheen finishes on darker cabinet colors can hide fingerprints up to 40% better than gloss finishes in high-traffic kitchens, based on its industrial cabinetry trend guidance linked above. That can be helpful on islands or lower cabinets where hands constantly hit the surface.

What usually works and what usually doesn’t

A few patterns show up again and again in the field:

  • What works: Warm whites in dim kitchens, balanced greiges with mixed metal finishes, and darker accent colors used with restraint.
  • What struggles: Cool gray cabinets in already gray rooms, very glossy dark finishes on busy family kitchens, and trendy colors chosen without testing them in local light.
  • What deserves patience: Two-tone kitchens. They can look excellent, but they need stronger coordination between counters, wall color, and hardware.

People don’t need hundreds of paint names. They need a filter for making fewer, better choices.

Top Sherwin-Williams Cabinet Color Palettes

Not every kitchen needs the same answer. Some need light. Some need warmth. Some need contrast so the room stops looking flat. The strongest sherwin williams kitchen cabinet colors usually fall into three practical groups: bright whites, softer neutrals, and bold statement colors.

A useful gallery of ideas for side-by-side comparison is Wheeler’s collection of kitchen cabinets paint color ideas. It helps clients narrow the conversation before moving into physical samples.

Timeless and airy whites

Pure White (SW 7005) is one of the safest recommendations for cabinet painting when the goal is to brighten the room without making it feel sterile. It has an LRV of 84 and reflects substantial light, which is part of why it remains a top cabinet choice in design roundups focused on Sherwin-Williams whites, as noted by Designing Vibes. It also sits warmer than many people expect, which helps it avoid that hard, clinical look.

Alabaster (SW 7008) is another strong option when a kitchen needs softness. Verified trend guidance for Sherwin-Williams cabinetry notes Alabaster (LRV 82) as a brightening choice that reflects 80%+ light and works well in smaller kitchens where space feels compressed. It tends to be easier with warmer counters and wood floors than a cooler white would be.

These whites work well with:

  • Quartz with soft veining
  • Subway tile or handmade-look backsplash
  • Brushed nickel, polished nickel, or unlacquered brass
  • Natural wood accents on shelves, stools, or flooring

Sophisticated neutrals and greiges

Not every kitchen wants white cabinets. In many Seattle-area homes, a white cabinet can feel too sharp against warmer flooring, natural wood trim, or existing stone surfaces.

Accessible Beige (SW 7036) is a dependable direction when the room needs warmth more than brightness. It sits in that neutral zone where it can work with both black and brass hardware and usually feels more grounded than off-white. In homes with alder or fir tones, that warmth often reads more intentional than a cool gray.

Evergreen Fog (SW 9130) fits homeowners who want a color but don’t want the kitchen to feel loud. Sherwin-Williams trend guidance places it in the warmer cabinet movement and describes it in the LRV 30-40 range, which gives it enough body to read as a muted statement without going dark. It can work nicely on islands or full cabinetry when the kitchen has decent natural light and simple counters.

Neutrals and greiges pair best with:

Cabinet direction Best supporting finishes
Warm greige Creamy quartz, stone-look backsplash, aged brass
Beige-neutral White counters, warm wood flooring, matte black hardware
Muted green-greige White oak accents, simple tile, mixed metals

If a kitchen has a lot of fixed warm material already, a slightly warmer cabinet color usually looks more expensive than forcing in a cooler trend color.

Bold and dramatic statements

Dark cabinets can look outstanding, but they’re less forgiving. They need enough light, enough contrast, and enough restraint.

Tricorn Black (SW 6258) is the cleanest black in this group. It was featured in Sherwin-Williams’ 2021 Colormix® Tapestry palette and has grown into a major statement option. Verified data notes that it now makes up 25% of top designer picks in inspiration galleries after that palette feature, making it one of the better-established dark cabinet choices rather than a short-lived novelty. Its strength is that it reads as a true black without obvious brown or gray drag.

Dark cabinet colors often work best in one of these layouts:

  • Island only: Strong contrast without taking over the room
  • Lower cabinets only: Keeps weight low and preserves brightness above
  • Full set in larger kitchens: Works when the space has strong lighting, lighter counters, and enough visual breathing room

For navy-leaning kitchens, Sherwin-Williams industrial trend guidance also points to colors such as In the Navy SW 9178 and Needlepoint Navy SW 0032 in the broader move toward bold matte navies. These are good candidates for people who want depth without going all the way to black.

Sherwin-Williams recommended cabinet colors

Color Name (SW #) LRV Undertone/Family Pairs Well With
Pure White (SW 7005) 84 Warm white Quartz counters, brass, nickel, light backsplash
Alabaster (SW 7008) 82 Soft warm white Warm woods, creamy counters, classic tile
Shoji White (SW 7042) 74 Off-white, warmer neutral Stone counters, softer backsplashes, warmer flooring
Accessible Beige (SW 7036) Qualitatively warm neutral Beige-greige Alder tones, black hardware, mixed metals
Evergreen Fog (SW 9130) 30-40 Warm green-greige White oak, simple tile, understated stone
Tricorn Black (SW 6258) Qualitatively very dark True black White counters, brass, concrete, wood accents

One note on color codes: Sherwin-Williams identifies cabinet colors by SW numbers, and that’s the most reliable way to specify them on a project. Because no verified HEX or RGB values were provided in the approved source material, it’s better not to rely on unofficial digital color conversions when making a final paint decision.

Color Strategies for Pacific Northwest Homes

National cabinet advice often misses what happens in a Seattle or Tacoma kitchen in February. Light is flatter. Shadows stay longer. Colors that looked balanced online can feel cooler, heavier, or duller once they’re installed in a real Puget Sound home.

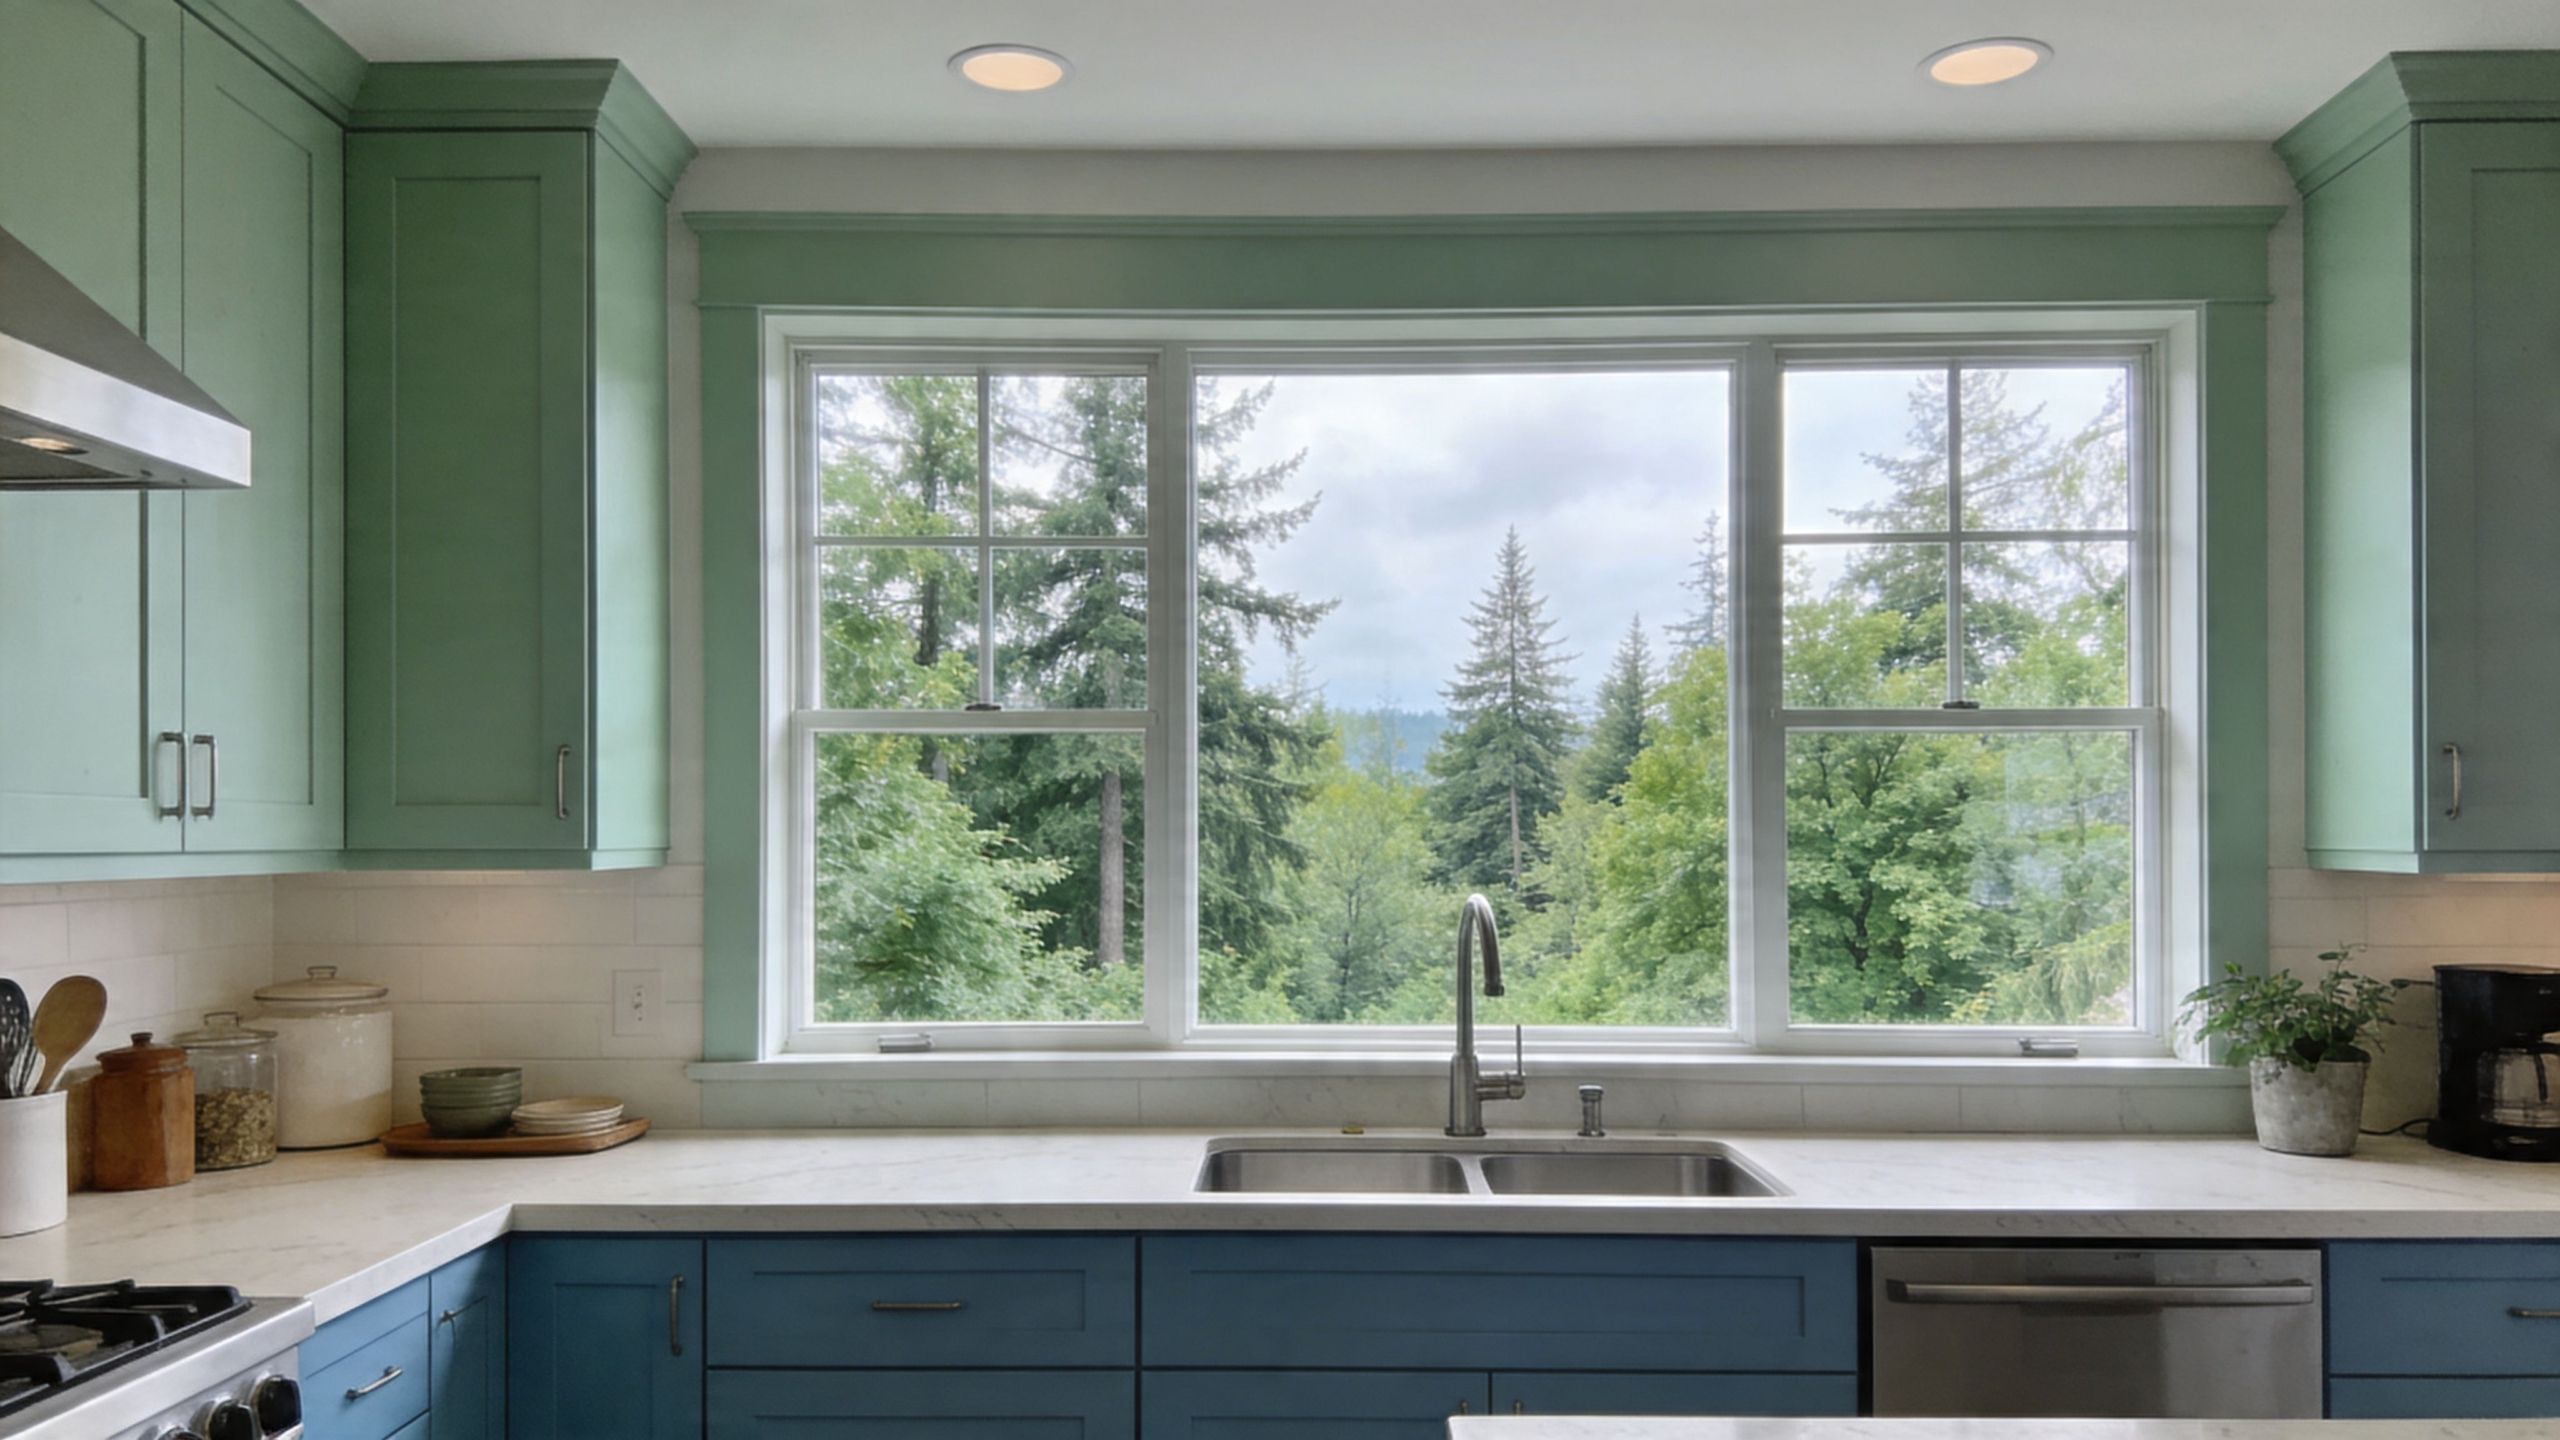
A modern kitchen featuring two-tone cabinetry with green upper cabinets and blue lower cabinets under a window.

The region averages 40% less sunlight than national norms, and one survey cited a 62% regret rate for non-neutral cabinets in dim climates, which is why warmer beiges and higher-LRV whites are often the safer long-term choice in local homes, according to this Studio McGee discussion of neutral kitchen cabinet color. That doesn’t mean bold colors are a mistake. It means they need better planning here than they might in a brighter market.

Use brightness deliberately, not automatically

A brighter cabinet color can help in kitchens with limited daylight, but brightness alone isn’t the goal. The goal is balance.

In north-facing kitchens or rooms blocked by neighboring homes, warm whites and soft neutrals usually hold up better than sharp cool whites. They bounce light without making the room feel washed out. In open-concept homes, they also tend to transition more naturally into adjacent living spaces.

Work with local wood tones instead of fighting them

A lot of homes between Kent and Tacoma still have natural wood floors, fir trim, alder cabinetry in nearby rooms, or wood accents that aren’t changing with the kitchen project. That matters.

Cabinet paint should support those materials, not argue with them. In practice, that usually means:

  • Warm whites for homes with honey or amber wood notes
  • Greige or beige-leaning neutrals when flooring has visible warmth
  • Muted greens or navies only when there’s enough contrast from counters and wall color

If the kitchen includes prominent wood elements, bring those samples into the color decision early. A paint color that looks calm on a sample board can go muddy next to warm fir or turn colder than expected against stone with gray veining.

Most PNW kitchens look better when the cabinet color relates to the wood tone somewhere in the house, even if it doesn't match it exactly.

Moisture changes the paint conversation

Puget Sound kitchens also deal with moisture differently. Daily cooking, cooler outdoor weather, and seasonal dampness create conditions where lower-quality products show their weaknesses faster.

That affects both color and finish. Dark colors can reveal failure sooner if the coating wasn’t built correctly. Lighter colors can yellow or get blotchy if the wrong product was used. A proper cabinet system matters more here because the environment is less forgiving.

For homeowners and facility managers, that means thinking beyond the paint chip. The right sherwin williams kitchen cabinet colors still need the right prep, primer, and topcoat system to stay attractive in a kitchen that sees steady use.

The Professional Process for a Flawless Finish

A cabinet finish earns its keep after the kitchen goes back to normal. Doors open and close hundreds of times. Pulls get grabbed with wet hands. Steam hangs in the room on dark winter mornings. In Seattle, Tacoma, and Kent, that daily moisture exposure is part of the job, so the process has to be built for wear from the start.

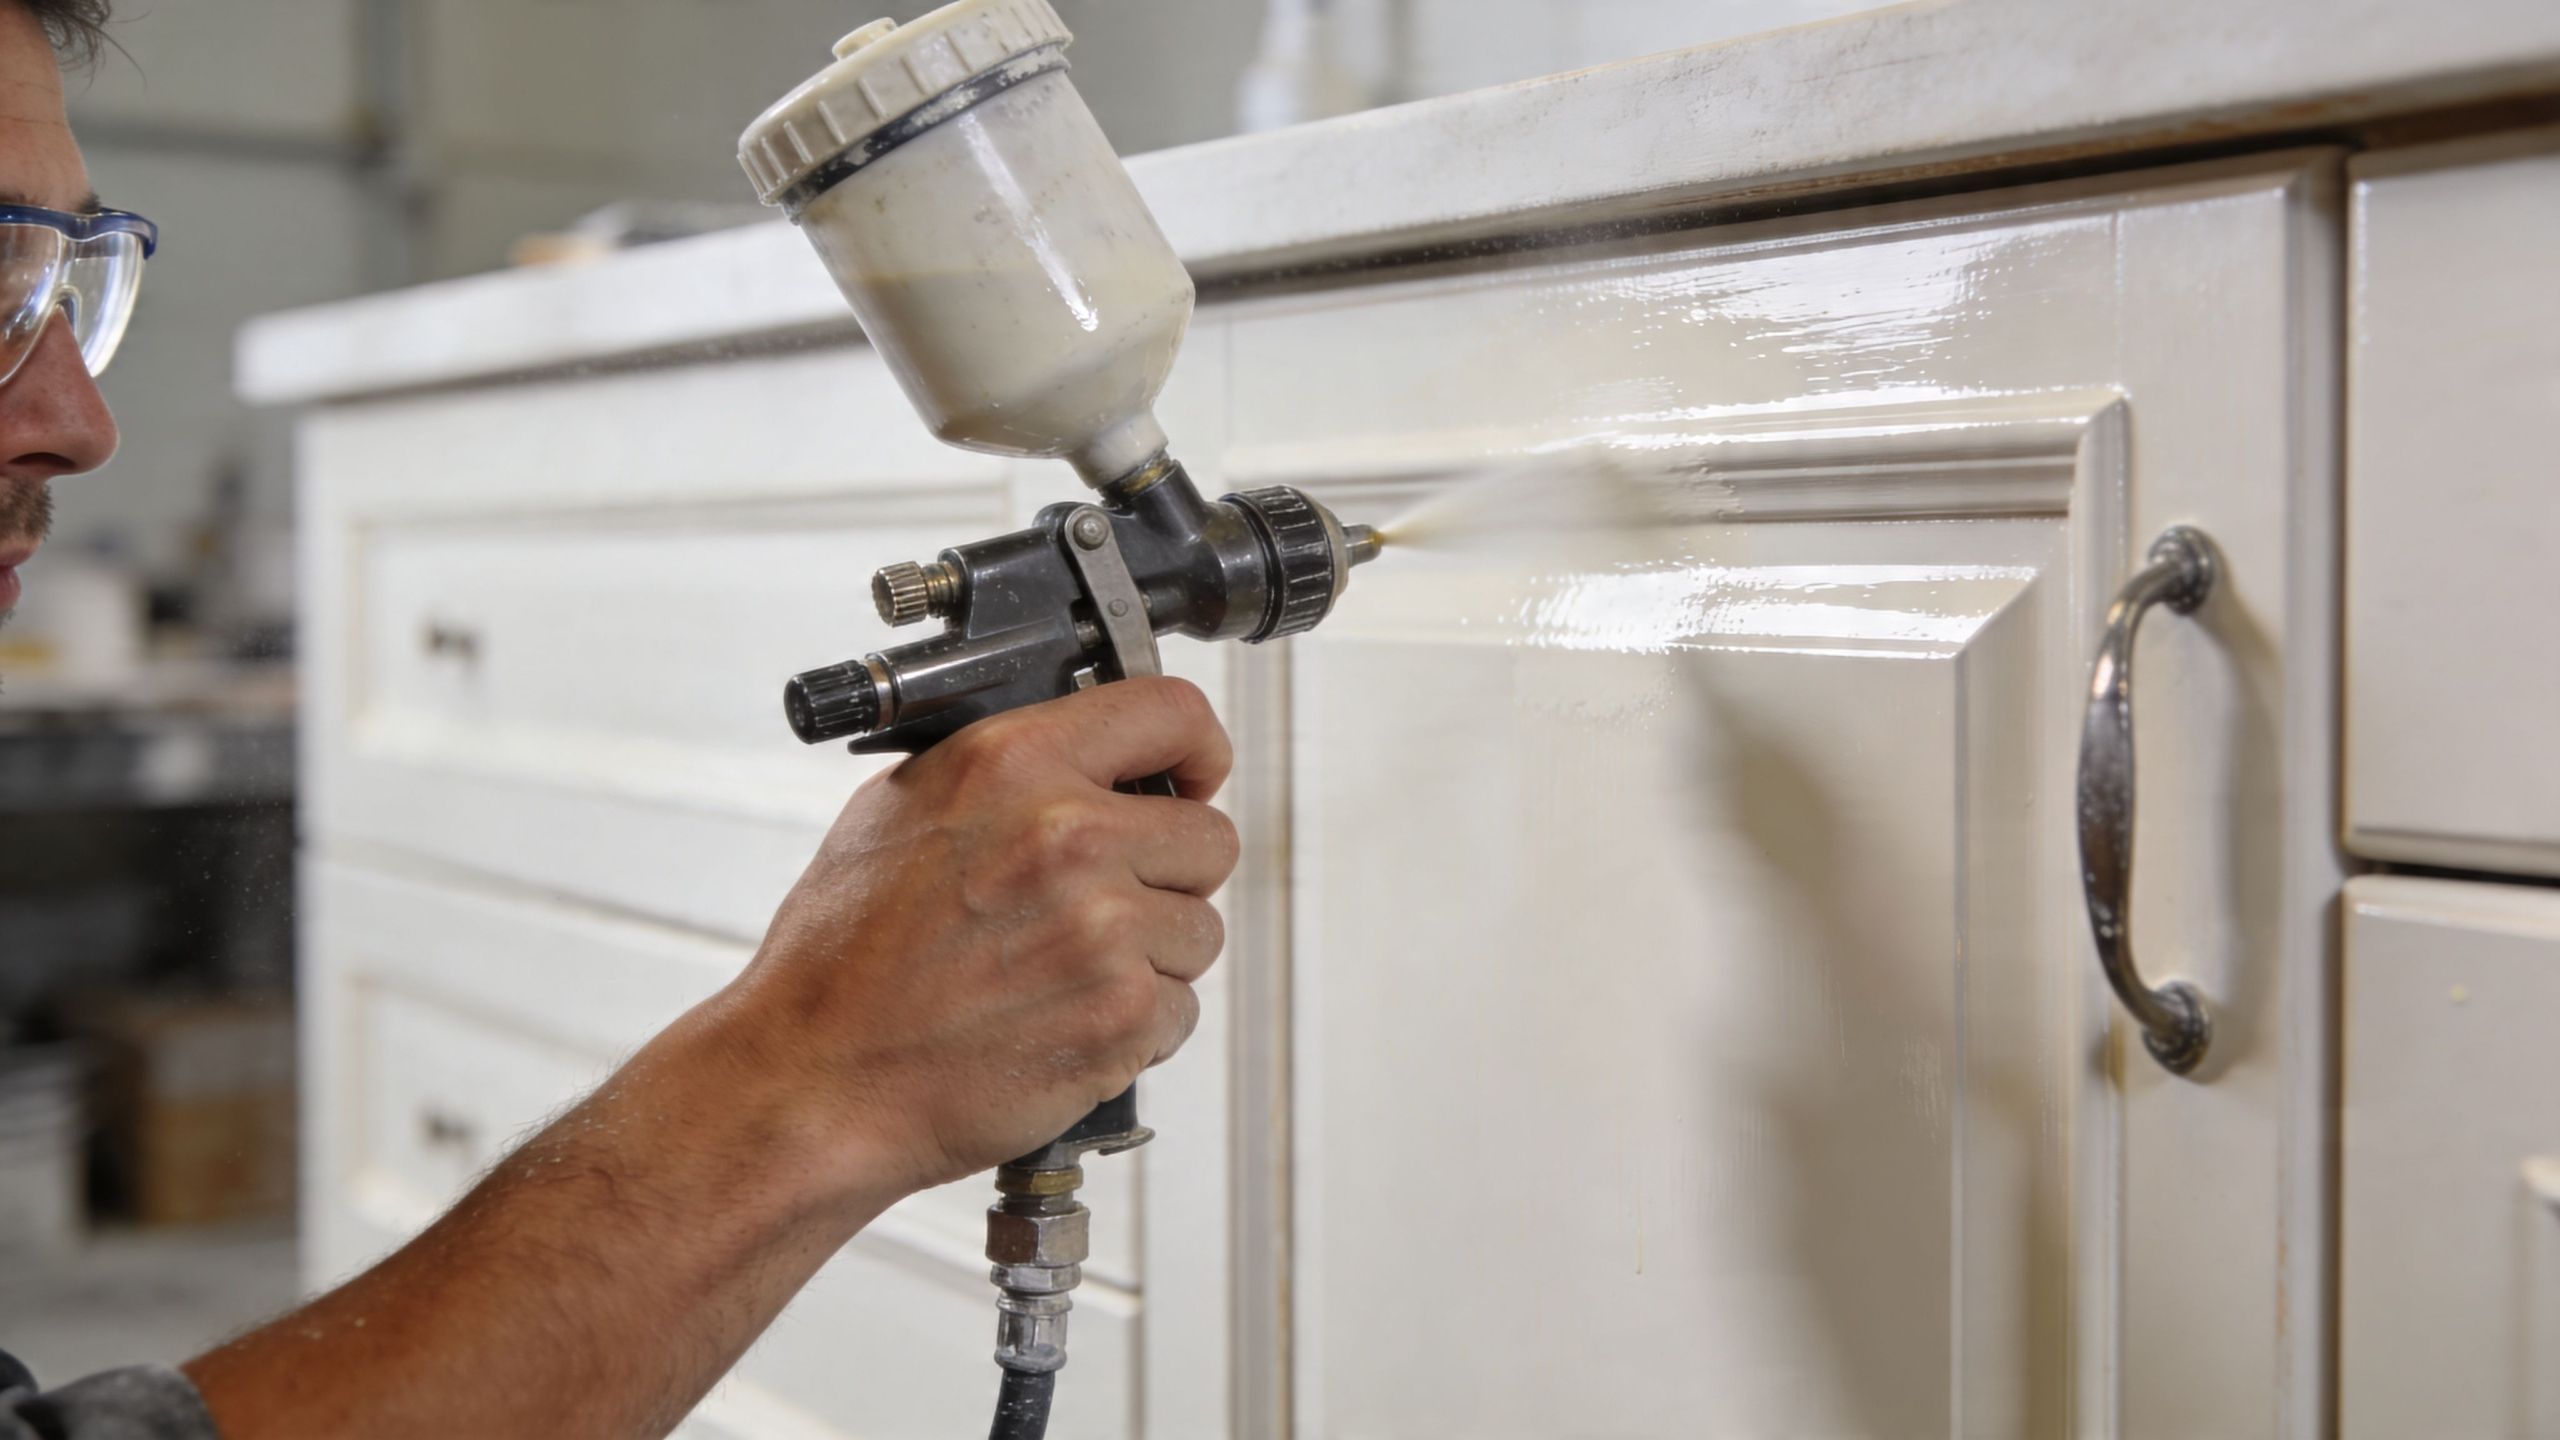
A professional painter uses a spray gun to apply fresh off-white paint to a kitchen cabinet door.

Prep does most of the hard work

Cabinets carry layers of contamination that homeowners rarely see. Grease near the range, polish residue on rail profiles, hand oils around pulls, and old cleaners all interfere with adhesion. If those contaminants stay in place, the new finish is more likely to chip at corners, fisheye during application, or wear prematurely around high-touch areas.

A proper prep sequence usually includes:

  1. Removing doors, drawers, and hardware so each piece can be coated cleanly.
  2. Labeling every part to keep reinstallation accurate.
  3. Cleaning and degreasing with extra attention near cooking zones and handles.
  4. Sanding or scuffing to create mechanical adhesion.
  5. Priming repaired areas and slick surfaces so the topcoat bonds evenly.

This is also the stage where old cabinet problems show up. Swollen MDF edges, failed caulk lines, hinge wear, and grain that needs filling are easier to correct before finish coats go on than after the color is applied.

Product choice matters more on cabinets than on walls

Cabinets need an enamel made for repeated contact and routine cleaning. Standard wall paint can look acceptable for a short time, but it usually does not hold up well on doors, drawer fronts, and face frames that get touched all day.

Sherwin-Williams Emerald Urethane Trim Enamel is a common choice for cabinet work because it levels well and cures to a harder finish than typical wall coatings. That matters in PNW kitchens, where moisture, cooking residue, and cooler indoor conditions can expose weak coating systems faster.

For homeowners weighing a full repaint against a more limited scope, Wheeler has a useful page on painting kitchen cabinet doors and drawer fronts. That decision affects labor, downtime, and how uniform the final result looks across the whole kitchen.

Field note: If a painter treats cabinet work like wall work, expect callbacks.

Application quality decides whether the finish looks factory-made or obviously repainted

Good spraying is only part of the job. Film thickness has to stay consistent. Dust has to be controlled. Recoat timing matters. So does temperature and humidity, especially during damp stretches common around Puget Sound. If the schedule gets rushed, the finish may dry unevenly, block when doors close, or show texture differences between frames and doors.

Cure time is where patience pays off. Cabinets can feel dry well before they are ready for full service, and that gap matters. I tell clients the same thing on nearly every project. A coating that gets handled too hard in the first few days can dent, print, or lose sheen before it fully hardens.

A general contractor with cabinet painting capability, such as Wheeler Painting & Restoration Services, can also be useful on broader kitchen projects because cabinet work often overlaps with drywall repair, trim updates, flooring protection, and schedule coordination with other trades.

Why Hire a Local Pro for Your Cabinet Project

Cabinet painting looks simple from a distance. Once the doors come off, the project becomes a finish-control job. Color selection, prep, dust management, dry time, hardware reinstallation, and protection of the rest of the home all have to line up.

That’s where DIY projects usually get expensive. The paint itself isn’t the only risk. The bigger risk is choosing a color that doesn’t work in local light, then applying it over a surface that wasn’t properly cleaned or primed. By the time those mistakes show up, the kitchen is already disrupted and the fix is rarely quick.

Local experience changes the recommendation

A contractor who works regularly in Seattle, Kent, Tacoma, and the communities in between sees the same recurring conditions:

  • Overcast light that cools colors down
  • Warm existing wood tones that affect undertones
  • Daily moisture and cooking residue that stress coatings
  • Older cabinet boxes and doors that need repair before paint

A local pro can spot these issues early and steer the project toward a practical result instead of a trendy one that won’t wear well.

Accountability matters on cabinet work

Cabinet painting is detailed work done in one of the busiest rooms in the property. Homeowners want the kitchen back. Facility managers want predictable scheduling. Property owners want the finish to hold up without constant touch-ups.

That’s why local accountability matters. If something needs adjustment, you’re not dealing with an out-of-area crew that has already moved on. You’re working with a contractor who serves this market and understands the expectations here.

The right hire doesn’t just apply paint. They protect the schedule, the surrounding finishes, and the long-term look of the kitchen.

It also helps on larger renovation projects

Some cabinet jobs stay small. Others turn into broader updates once the homeowner sees the opportunity. New flooring, drywall repair, backsplash replacement, tenant improvements, small retail refreshes, or office breakroom updates often tie into cabinet refinishing decisions.

Working with a contractor that handles both painting and broader residential or commercial construction can simplify those moving parts. Instead of coordinating several separate vendors, you have one point of contact who can keep the sequence organized.

For many property owners, that reduction in friction is just as valuable as the paint color itself.

Frequently Asked Questions About Cabinet Painting

How much does it cost to have kitchen cabinets professionally painted in the Seattle area

The exact price depends on the number of doors and drawers, the condition of the existing finish, how much prep is required, whether the boxes and interiors are included, and whether the project is part of a larger remodel. A small, straightforward repaint is very different from a kitchen with heavy grease, damaged doors, or layout-related carpentry work.

The most reliable way to price it is with an on-site estimate. That lets the contractor inspect the surface condition and confirm the scope before anyone promises a number that won’t hold.

How long does the cabinet painting process take

Most cabinet projects take several days from prep through reinstallation, and some take longer depending on drying conditions, complexity, and whether other work is happening in the kitchen at the same time. The timeline is driven less by how fast paint can be sprayed and more by how carefully the surfaces are prepared and how much cure protection is built into the schedule.

If someone promises an unusually fast turnaround, ask what they’re skipping.

Can I still use my kitchen during the project

Usually, yes, but not normally. Expect disruption. Doors and drawers may be removed, access may be limited, and parts of the kitchen may be off-limits during prep, spraying, or curing.

Most homeowners do best when they set up a temporary kitchen zone in another room with coffee supplies, a microwave, and a few everyday dishes. That takes the pressure off the main kitchen while the work is underway.

How durable are painted cabinets over the long term

Painted cabinets can be very durable when the project uses the right prep, primer, and cabinet-grade enamel. Long-term durability depends on the system, not just the color. Cabinets painted with a product designed for trim and cabinetry, and allowed to cure properly, will hold up much better than cabinets coated with ordinary wall paint.

Daily care matters too. Use gentle cleaners, avoid slamming doors, and give fresh paint time to harden before treating it like a fully cured factory finish.


If you're planning cabinet painting, a kitchen refresh, or a larger residential or commercial improvement project in Seattle, Kent, Tacoma, or the communities in between, Wheeler Painting & Restoration Services can help you sort through color selection, surface prep, and project scope with a clear on-site consultation and estimate.